
This is my first real CNC project, a cyclone dust separator.
There are lots of different versions of these floating around, but most use big box store five-gallon buckets, or larger garbage cans, but I wanted one that would fit comfortably underneath my CNC table and still have some capacity.
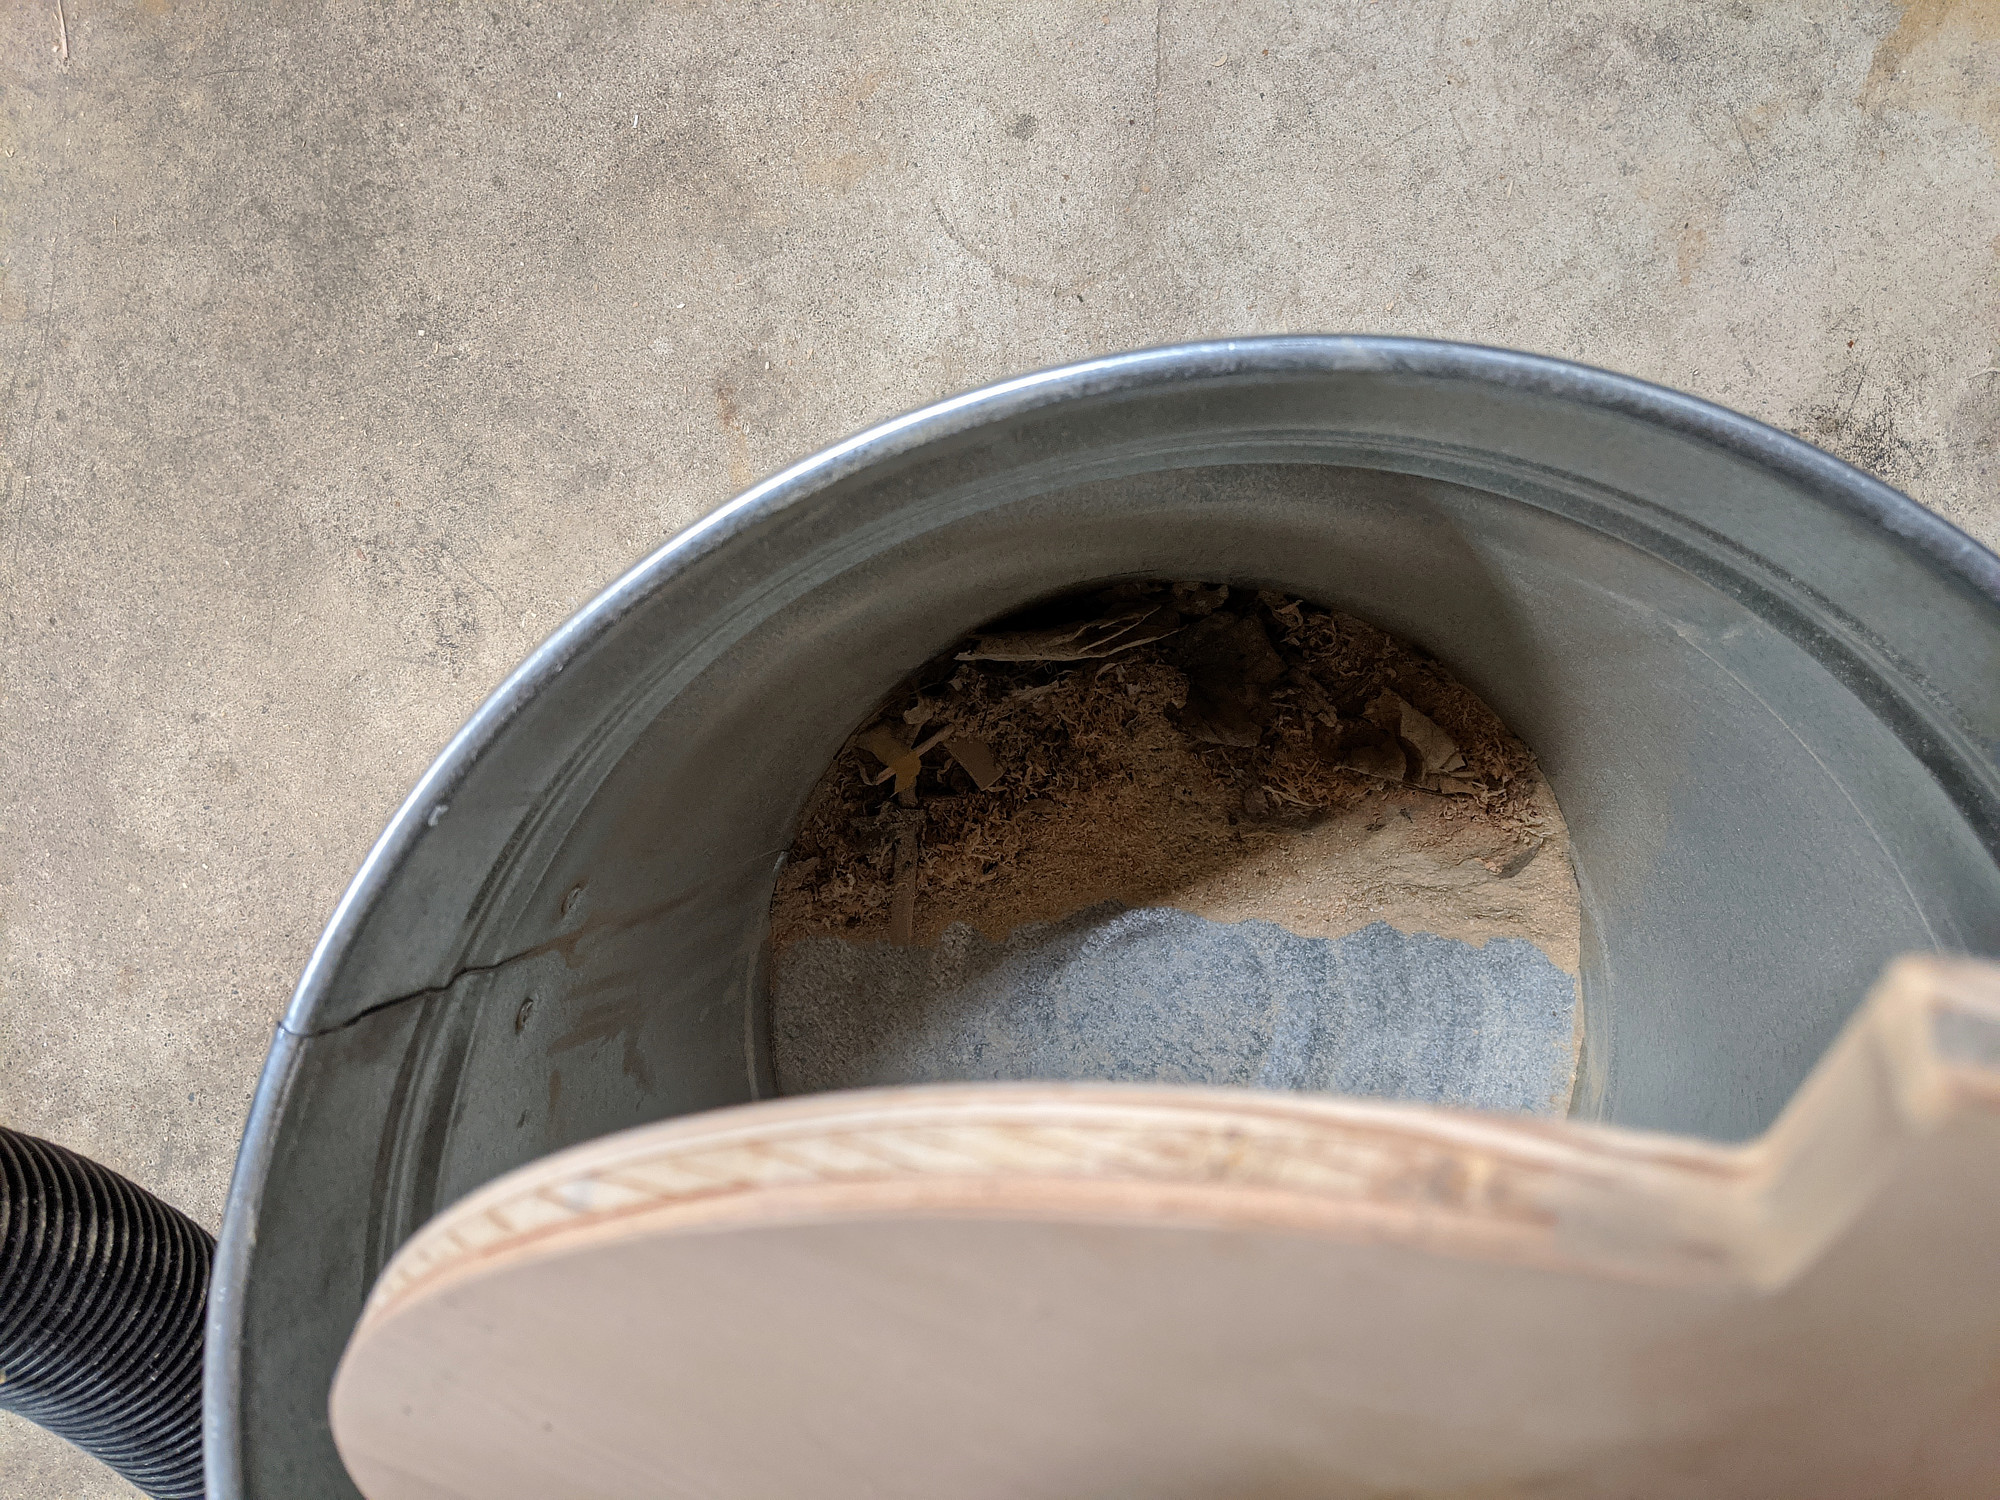
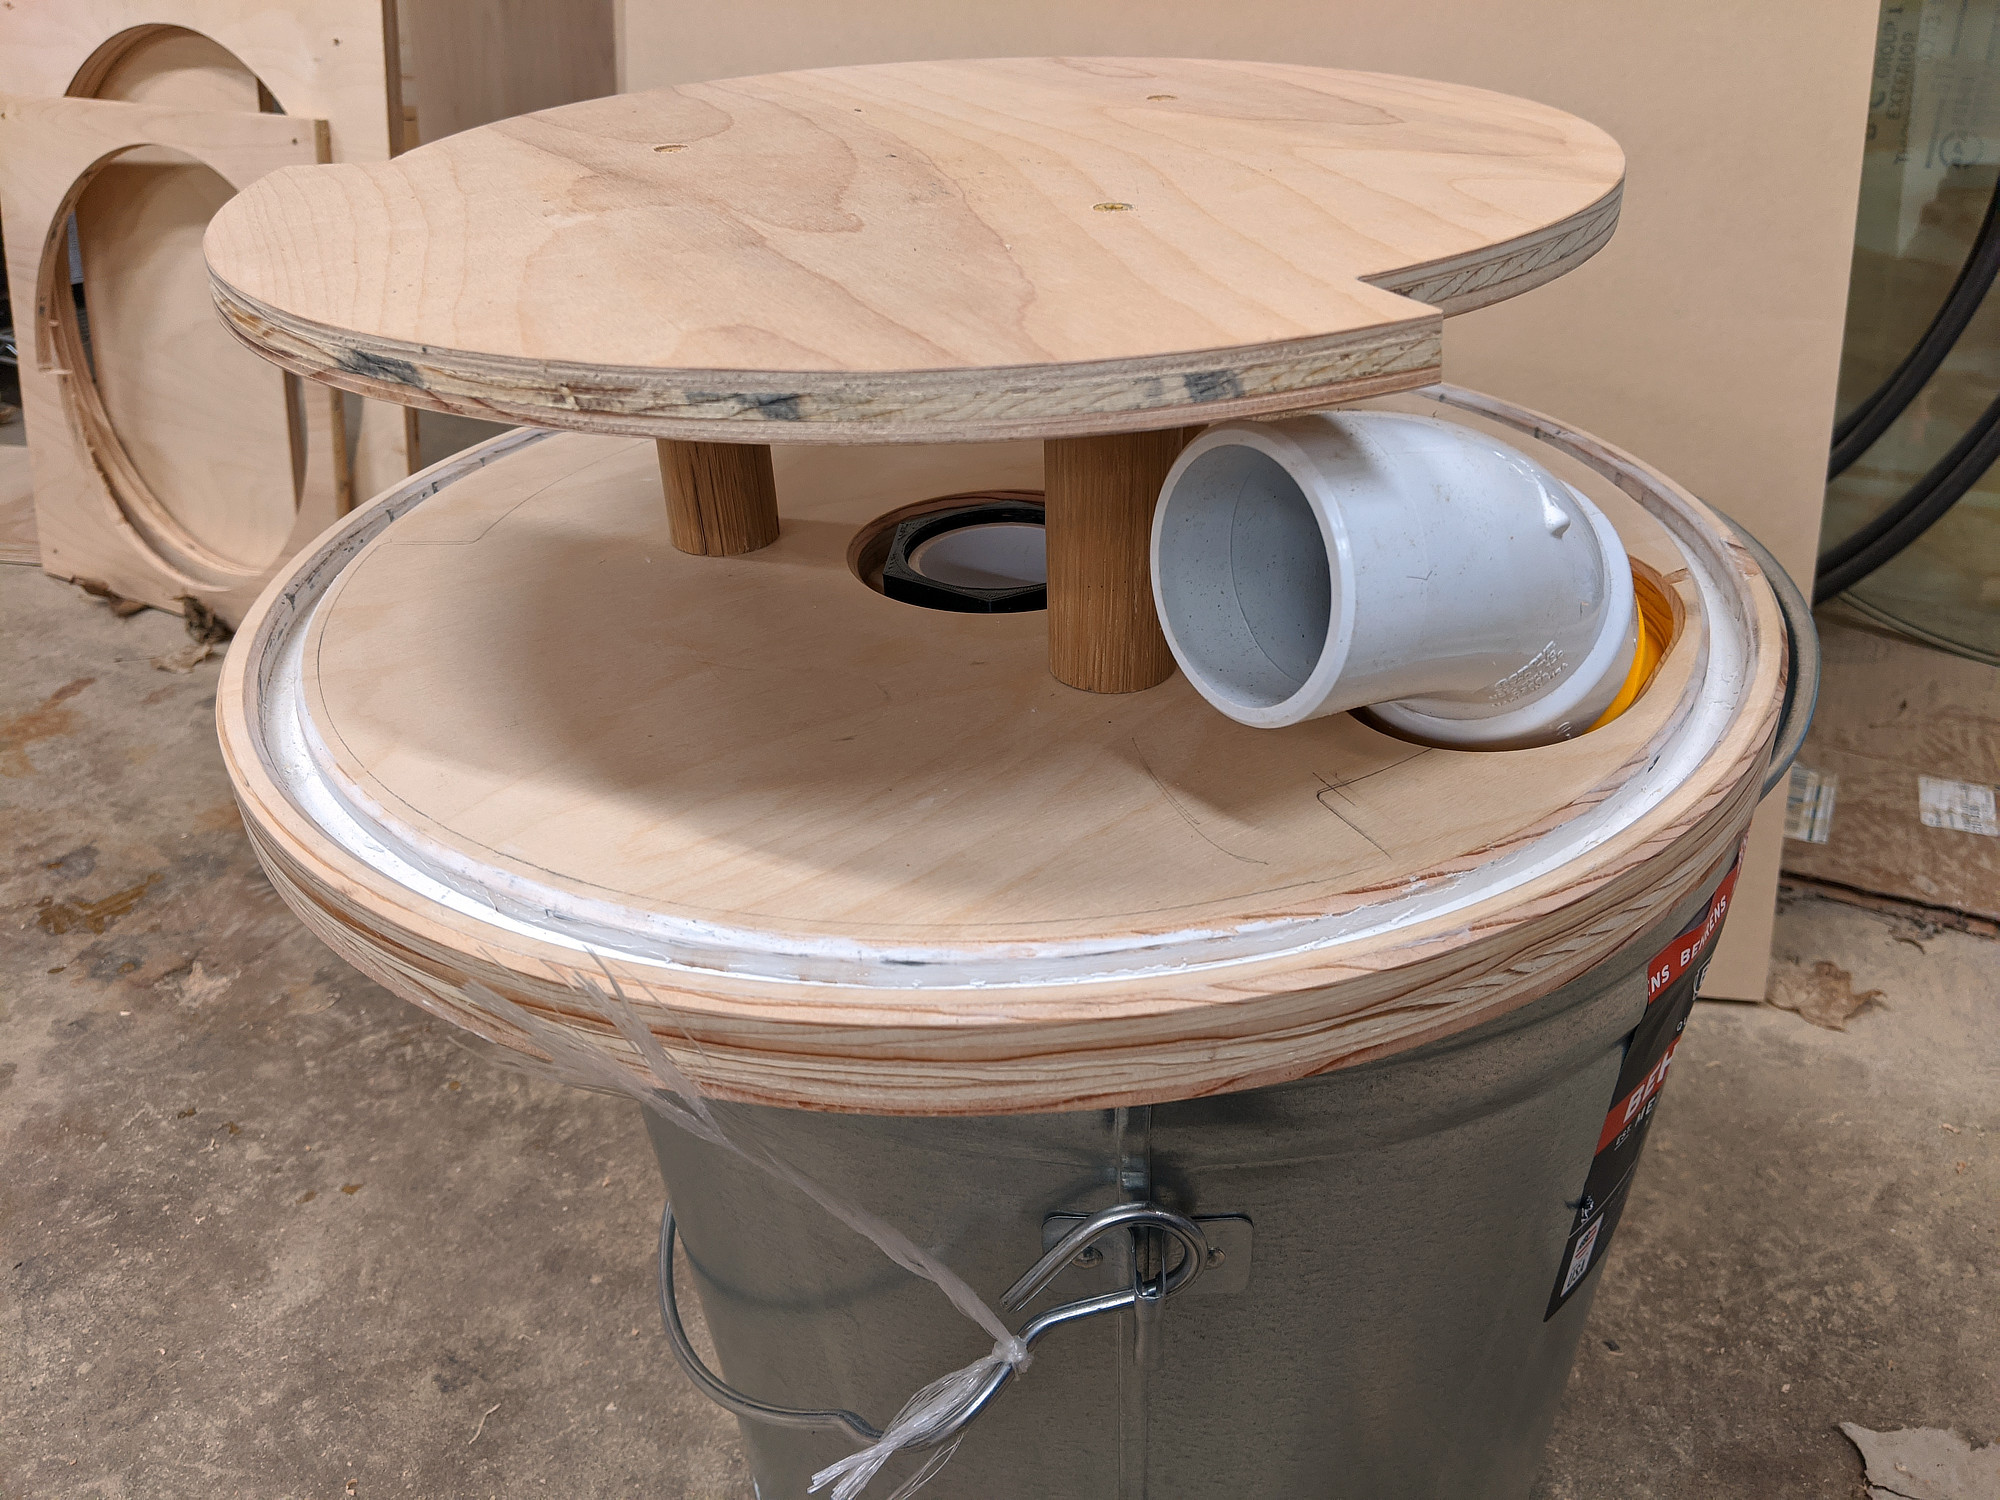
I settled on using a short, 10 gallon steel bucket
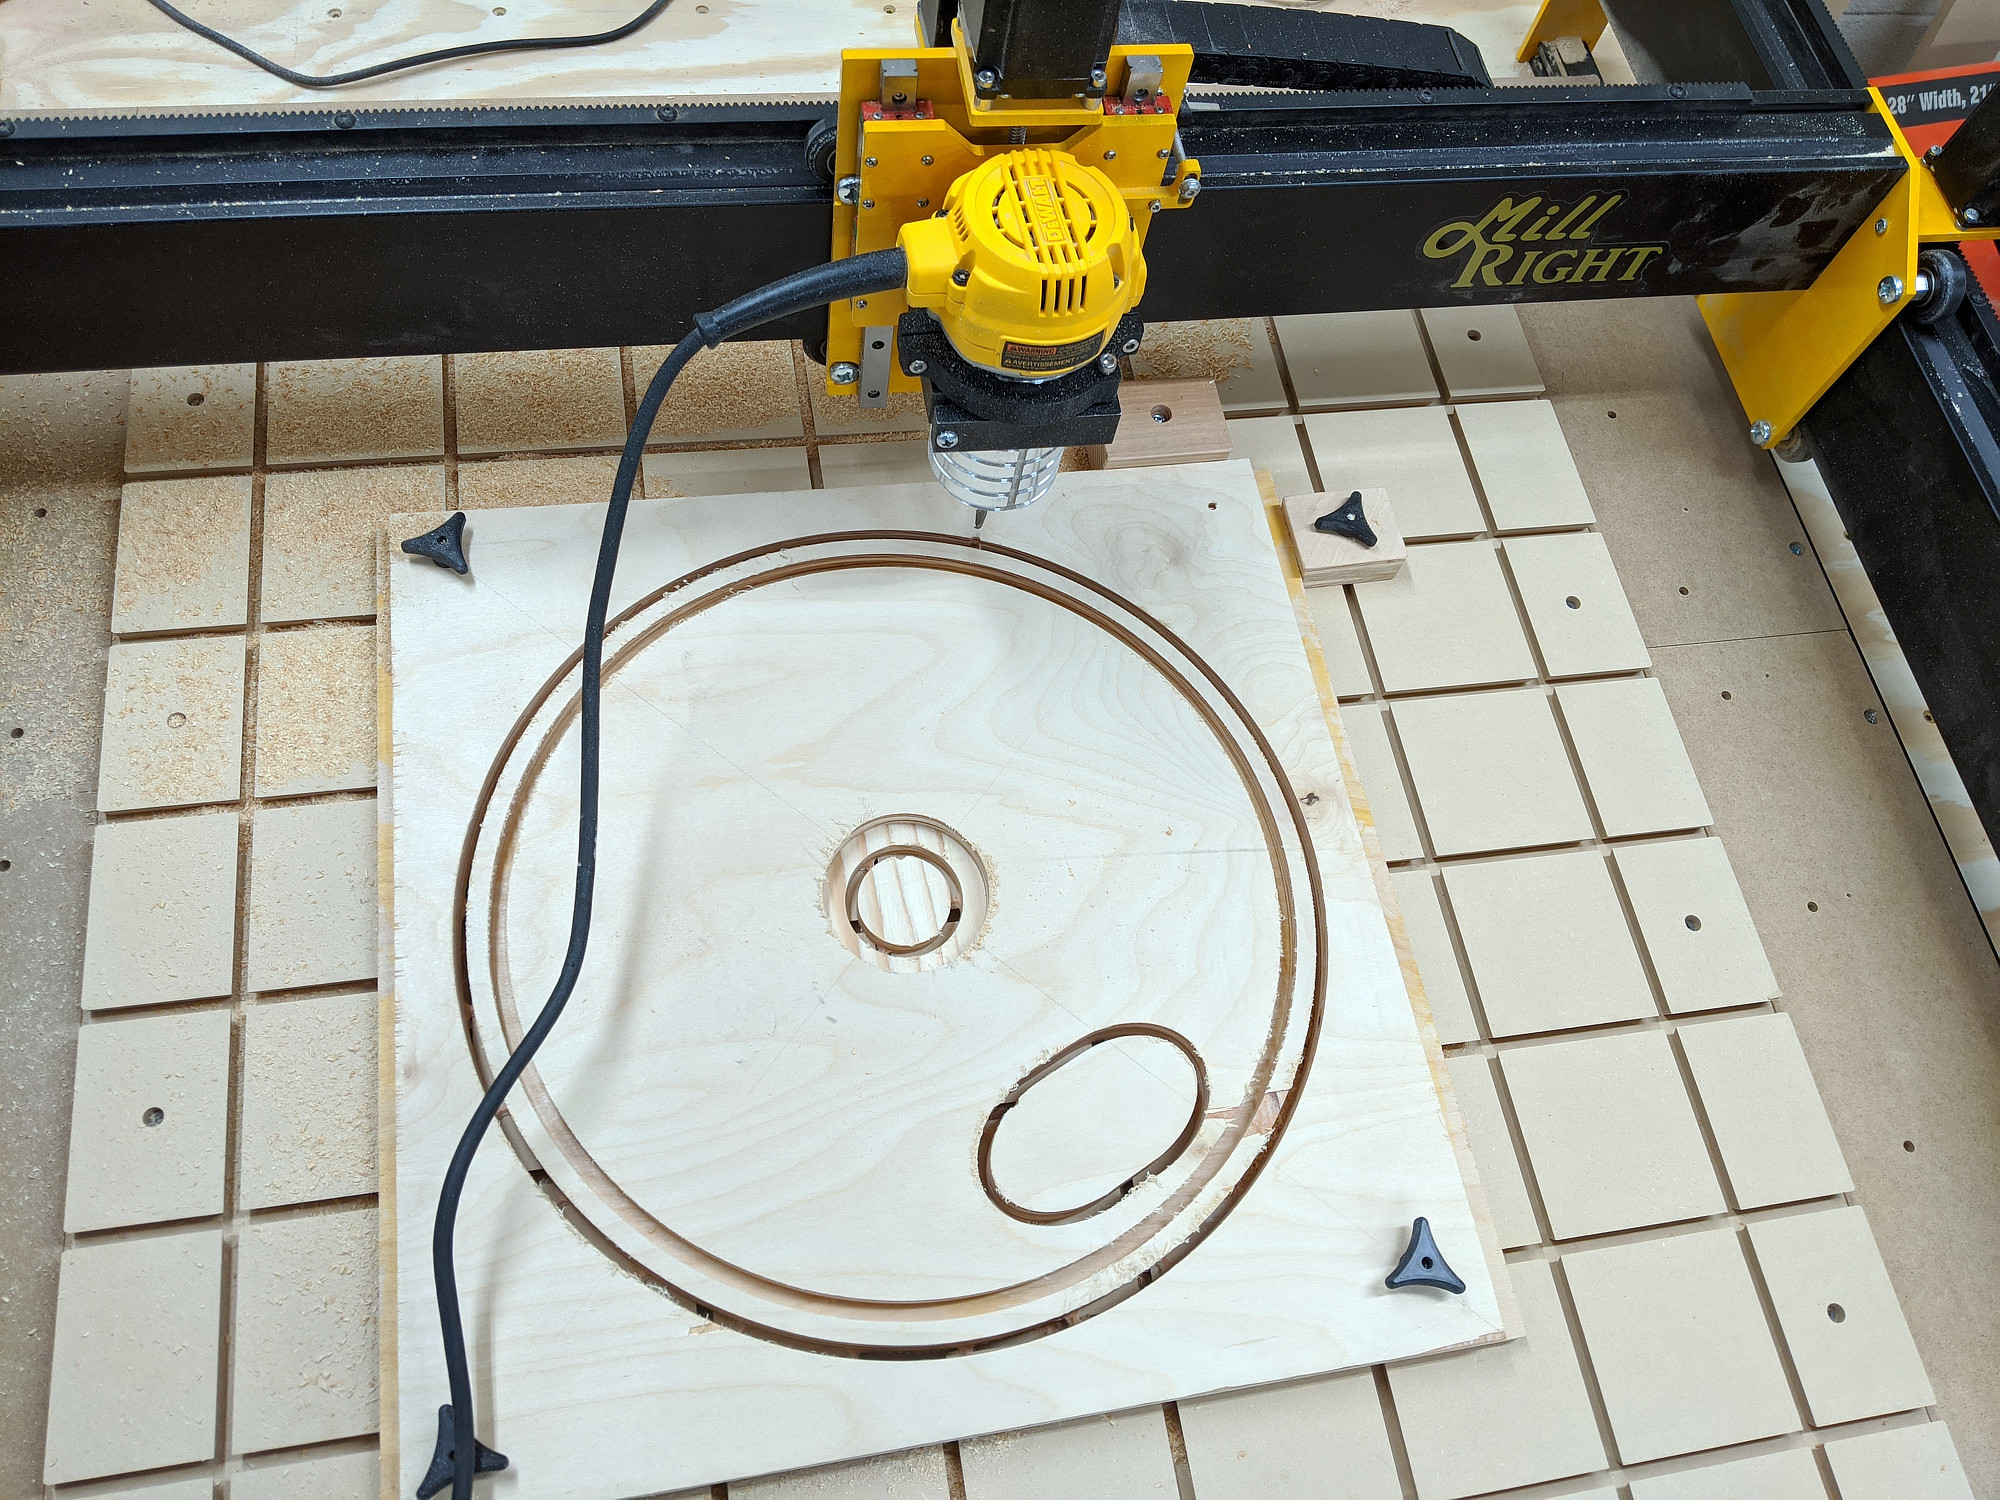
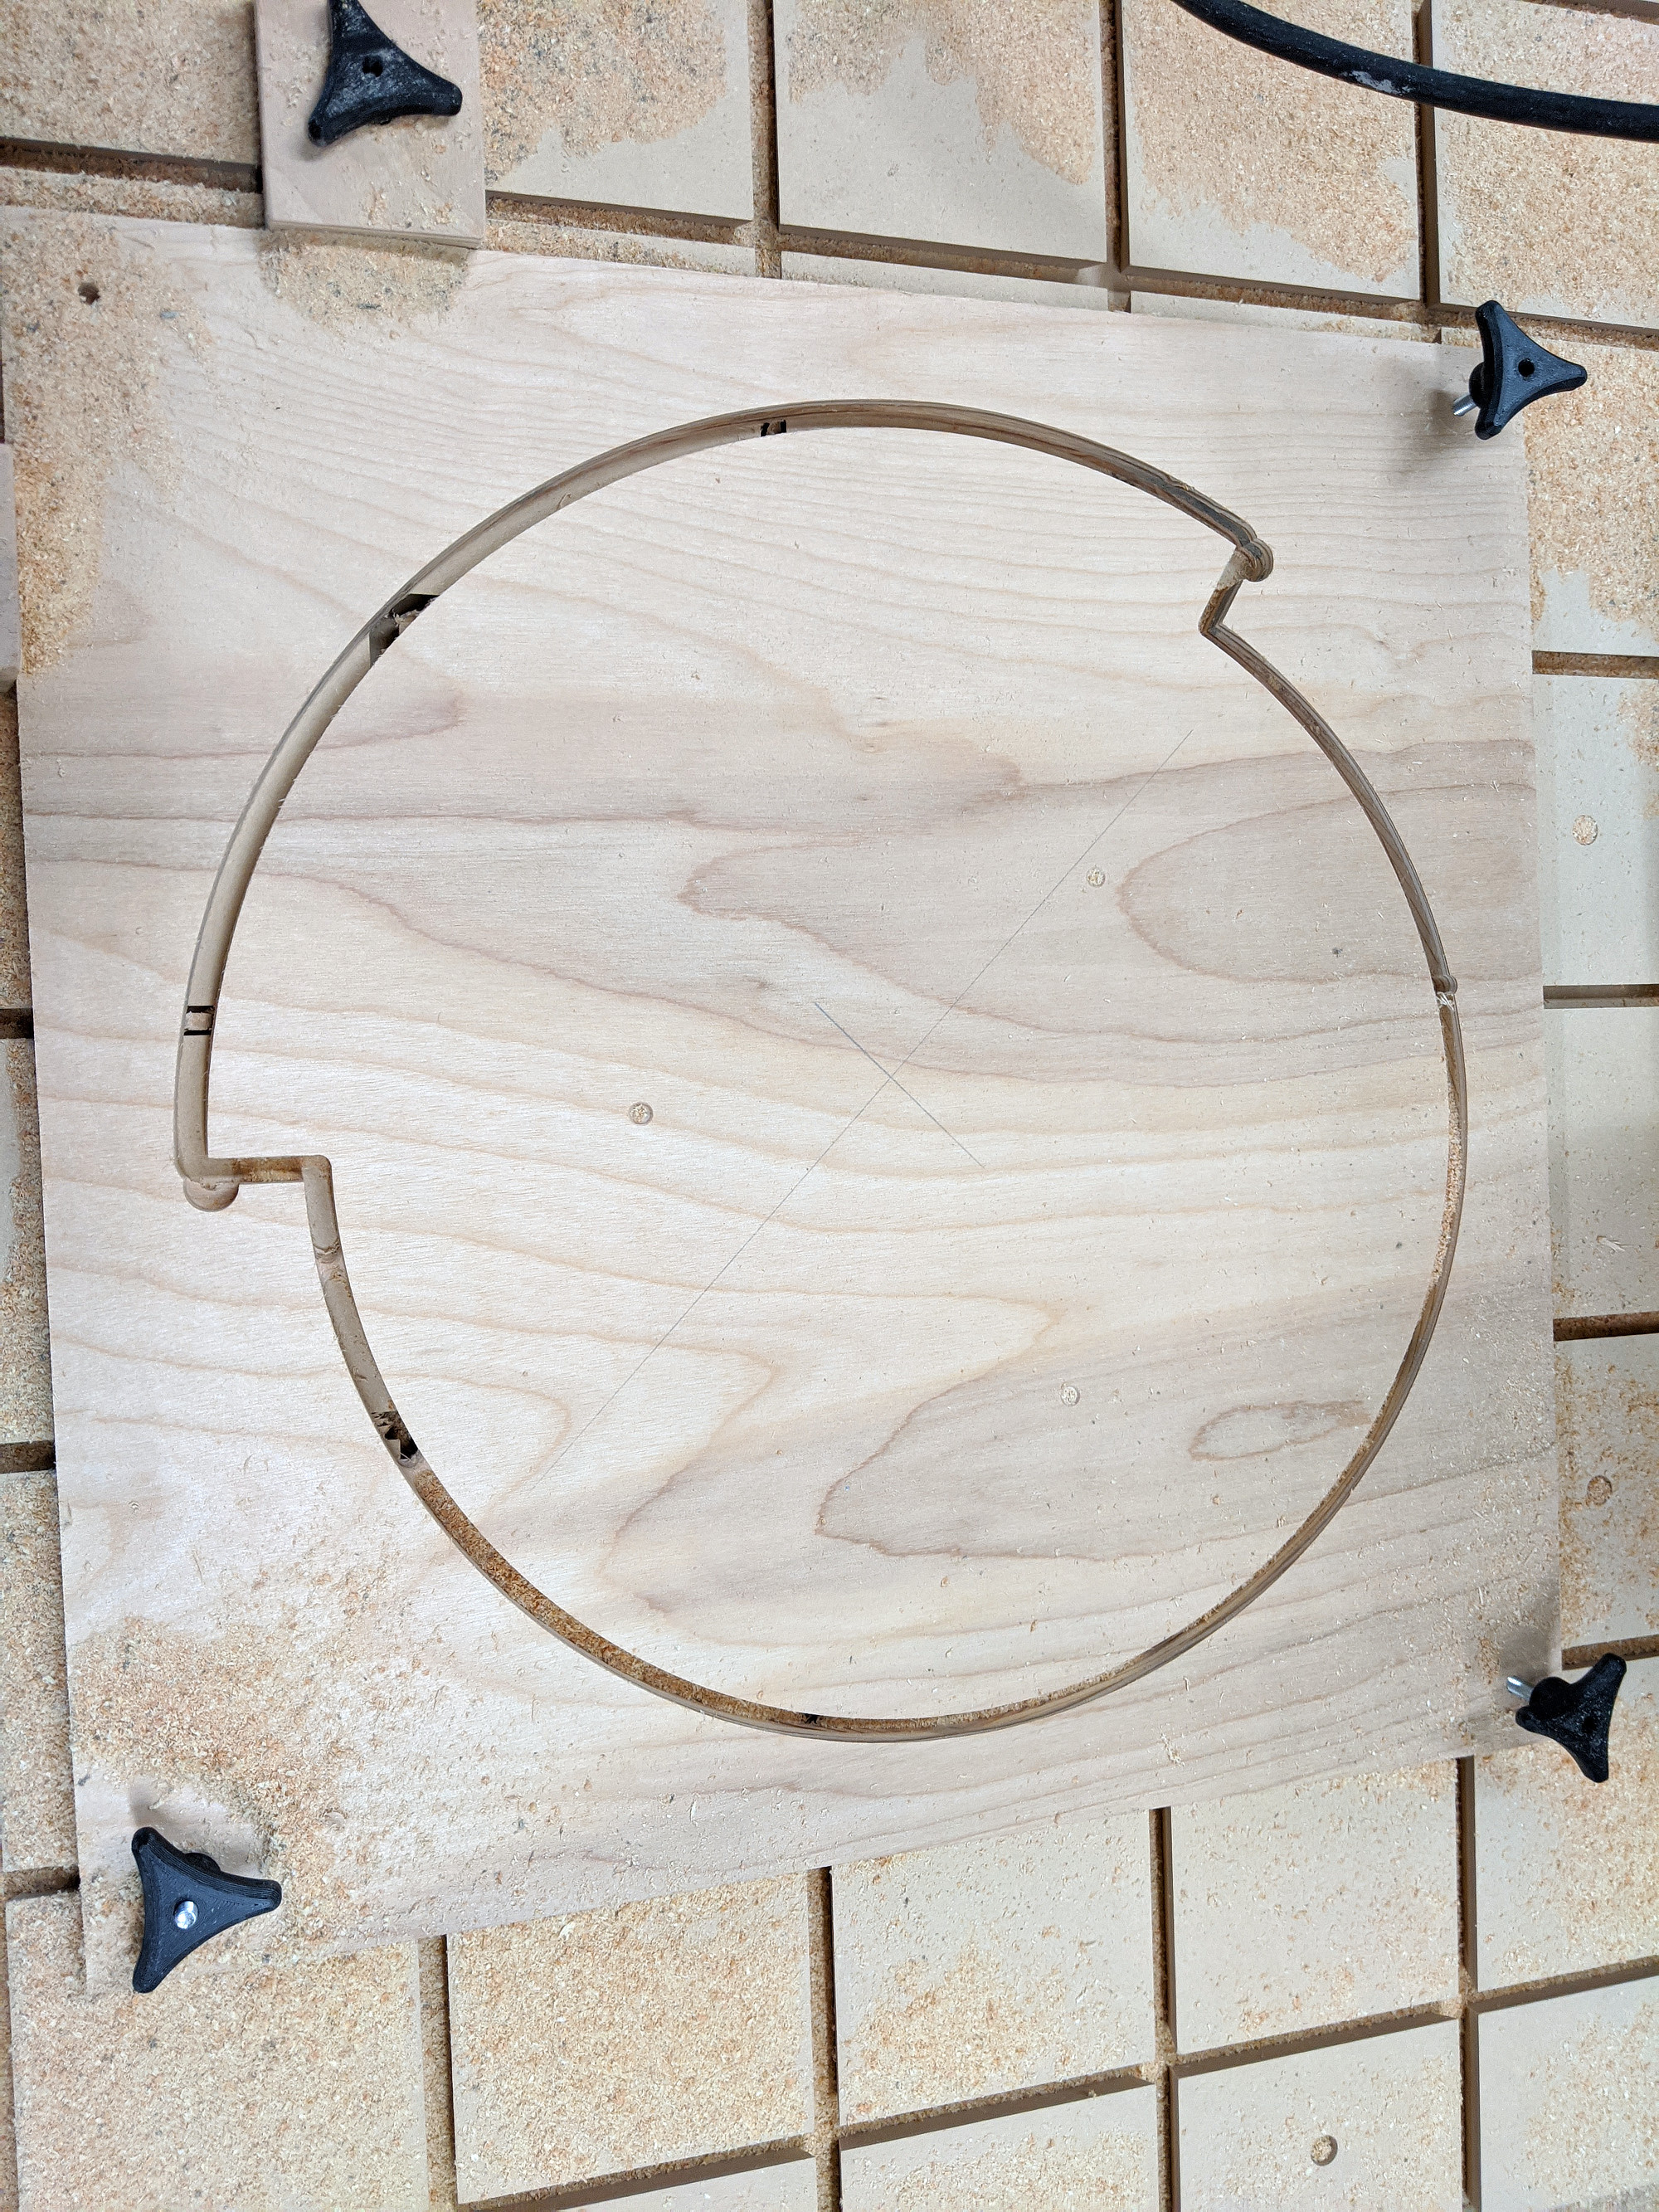
The lid and is made of 1” plywood, cut with a 1/4” endmill and a 90 degree chamfer bit. The baffle just redirects airflow, so only uses 1/2” plywood. It was also cut with a 1/4” endmill, but the extended section that contacts the wall of the bucket was tapered with a 1/4” ball end mill to match the slope of the bucket.
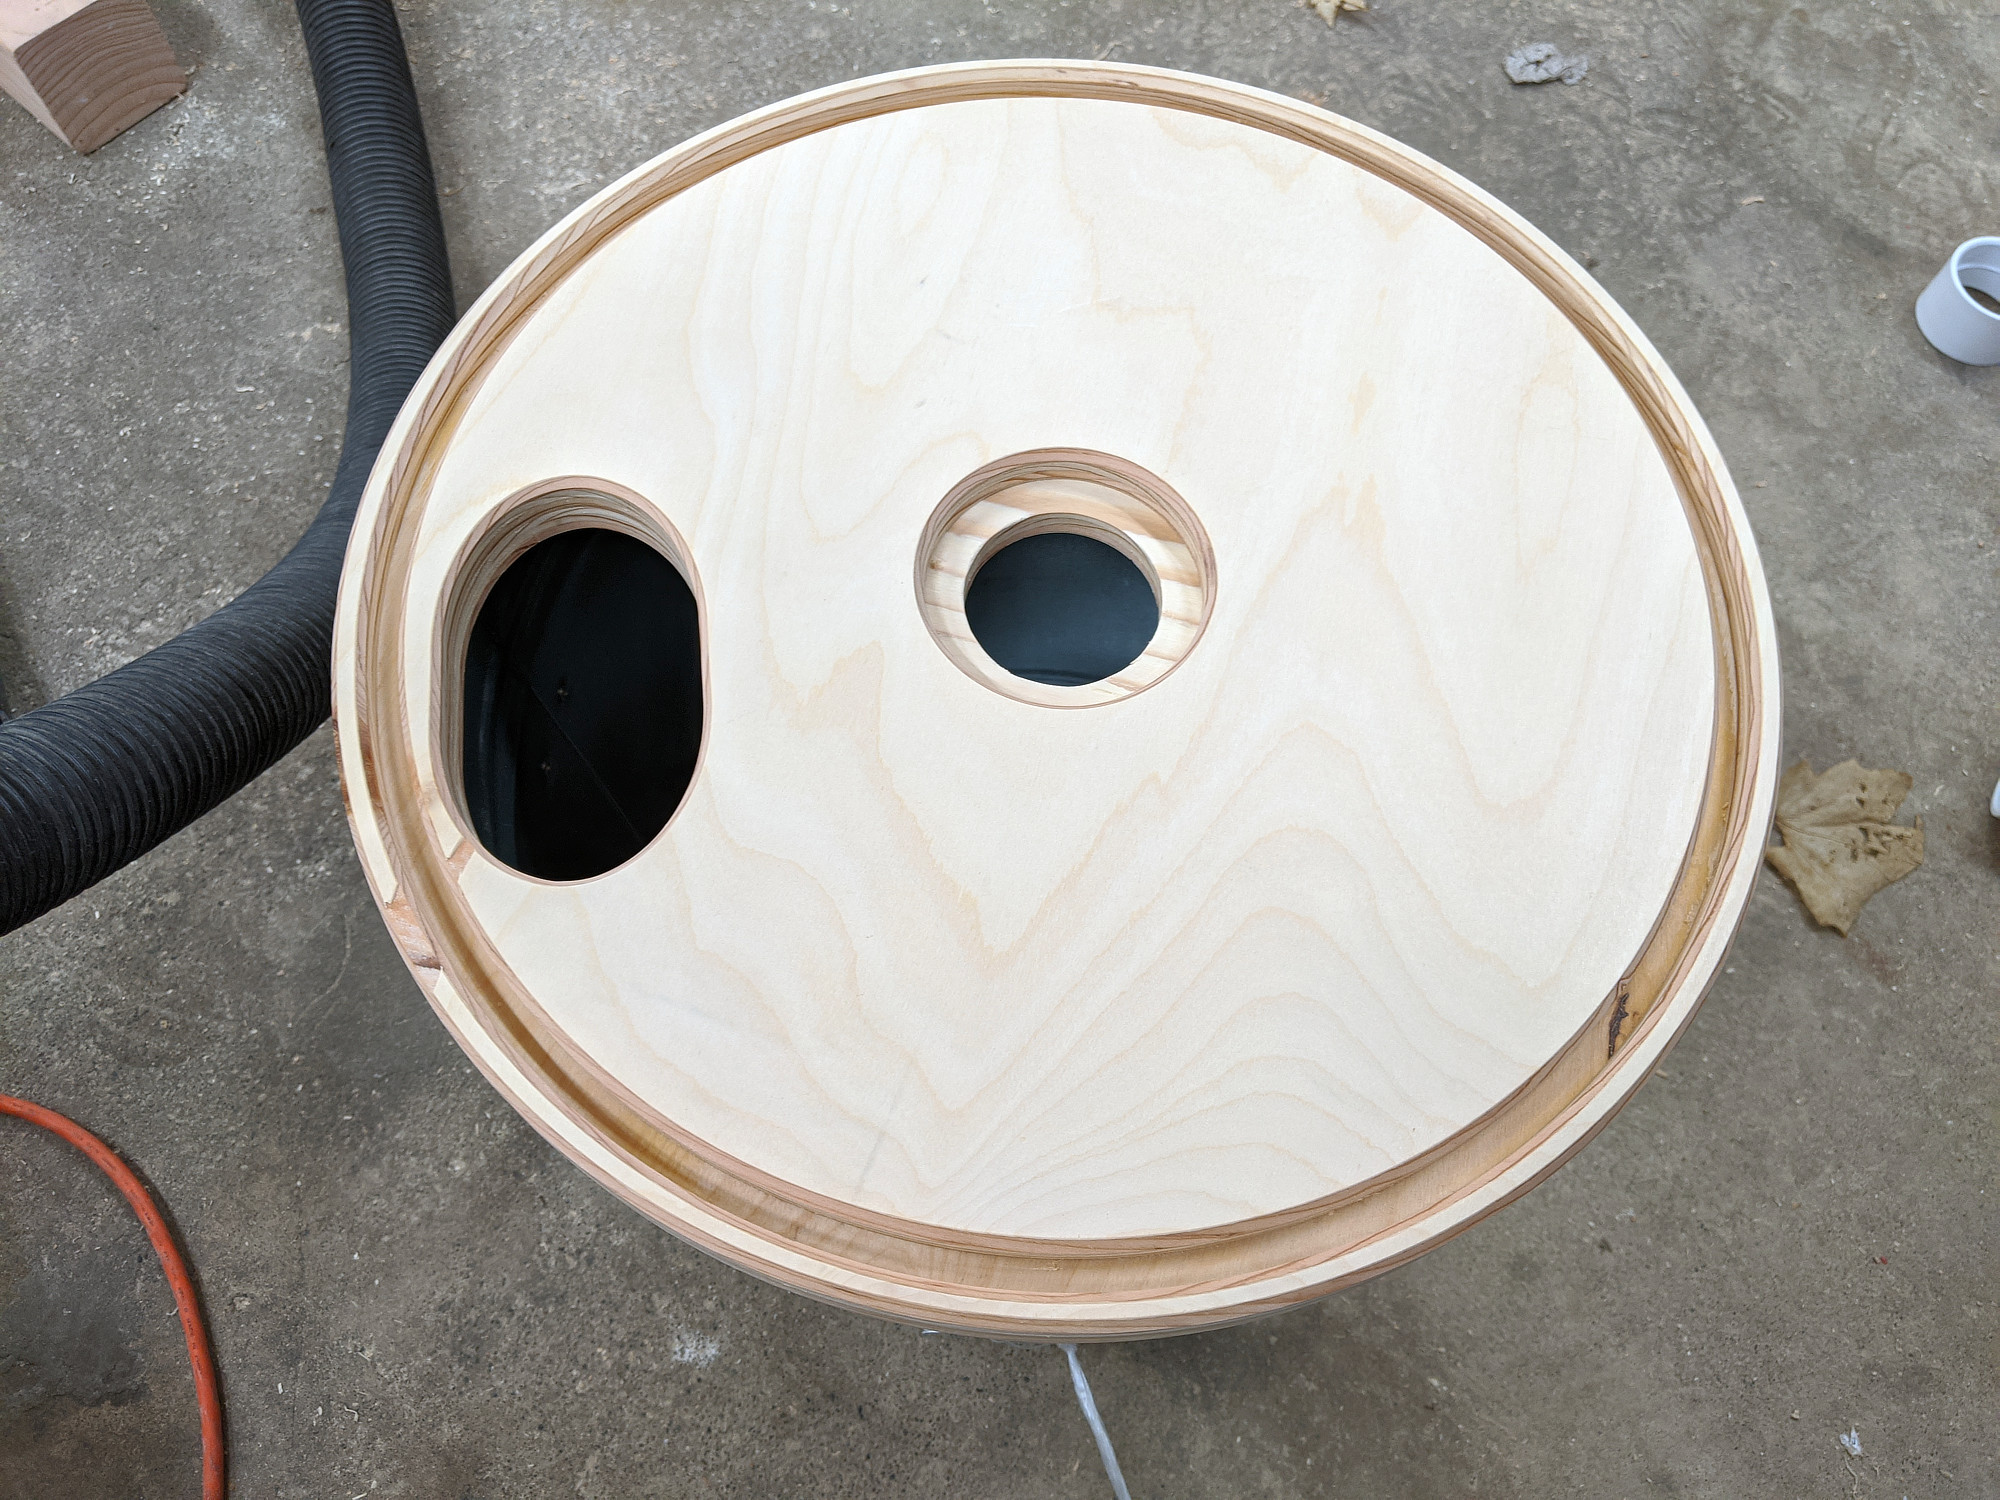
I’m using readily available schedule 40, 2” PVC pipes and fittings and 3d-printed this fitting to allow the pipe to pass through the lid at a 45° angle.
I installed the fitting using wood screws and caulk to seal it, and added a bead of caulk in the lip and smoothed it down. It kind of works, but a softer silicone caulk would have worked better.
I held the lid and baffle together with dowels, screwed in from the top and bottom. Here’s the assembled lid with baffle (upside down).
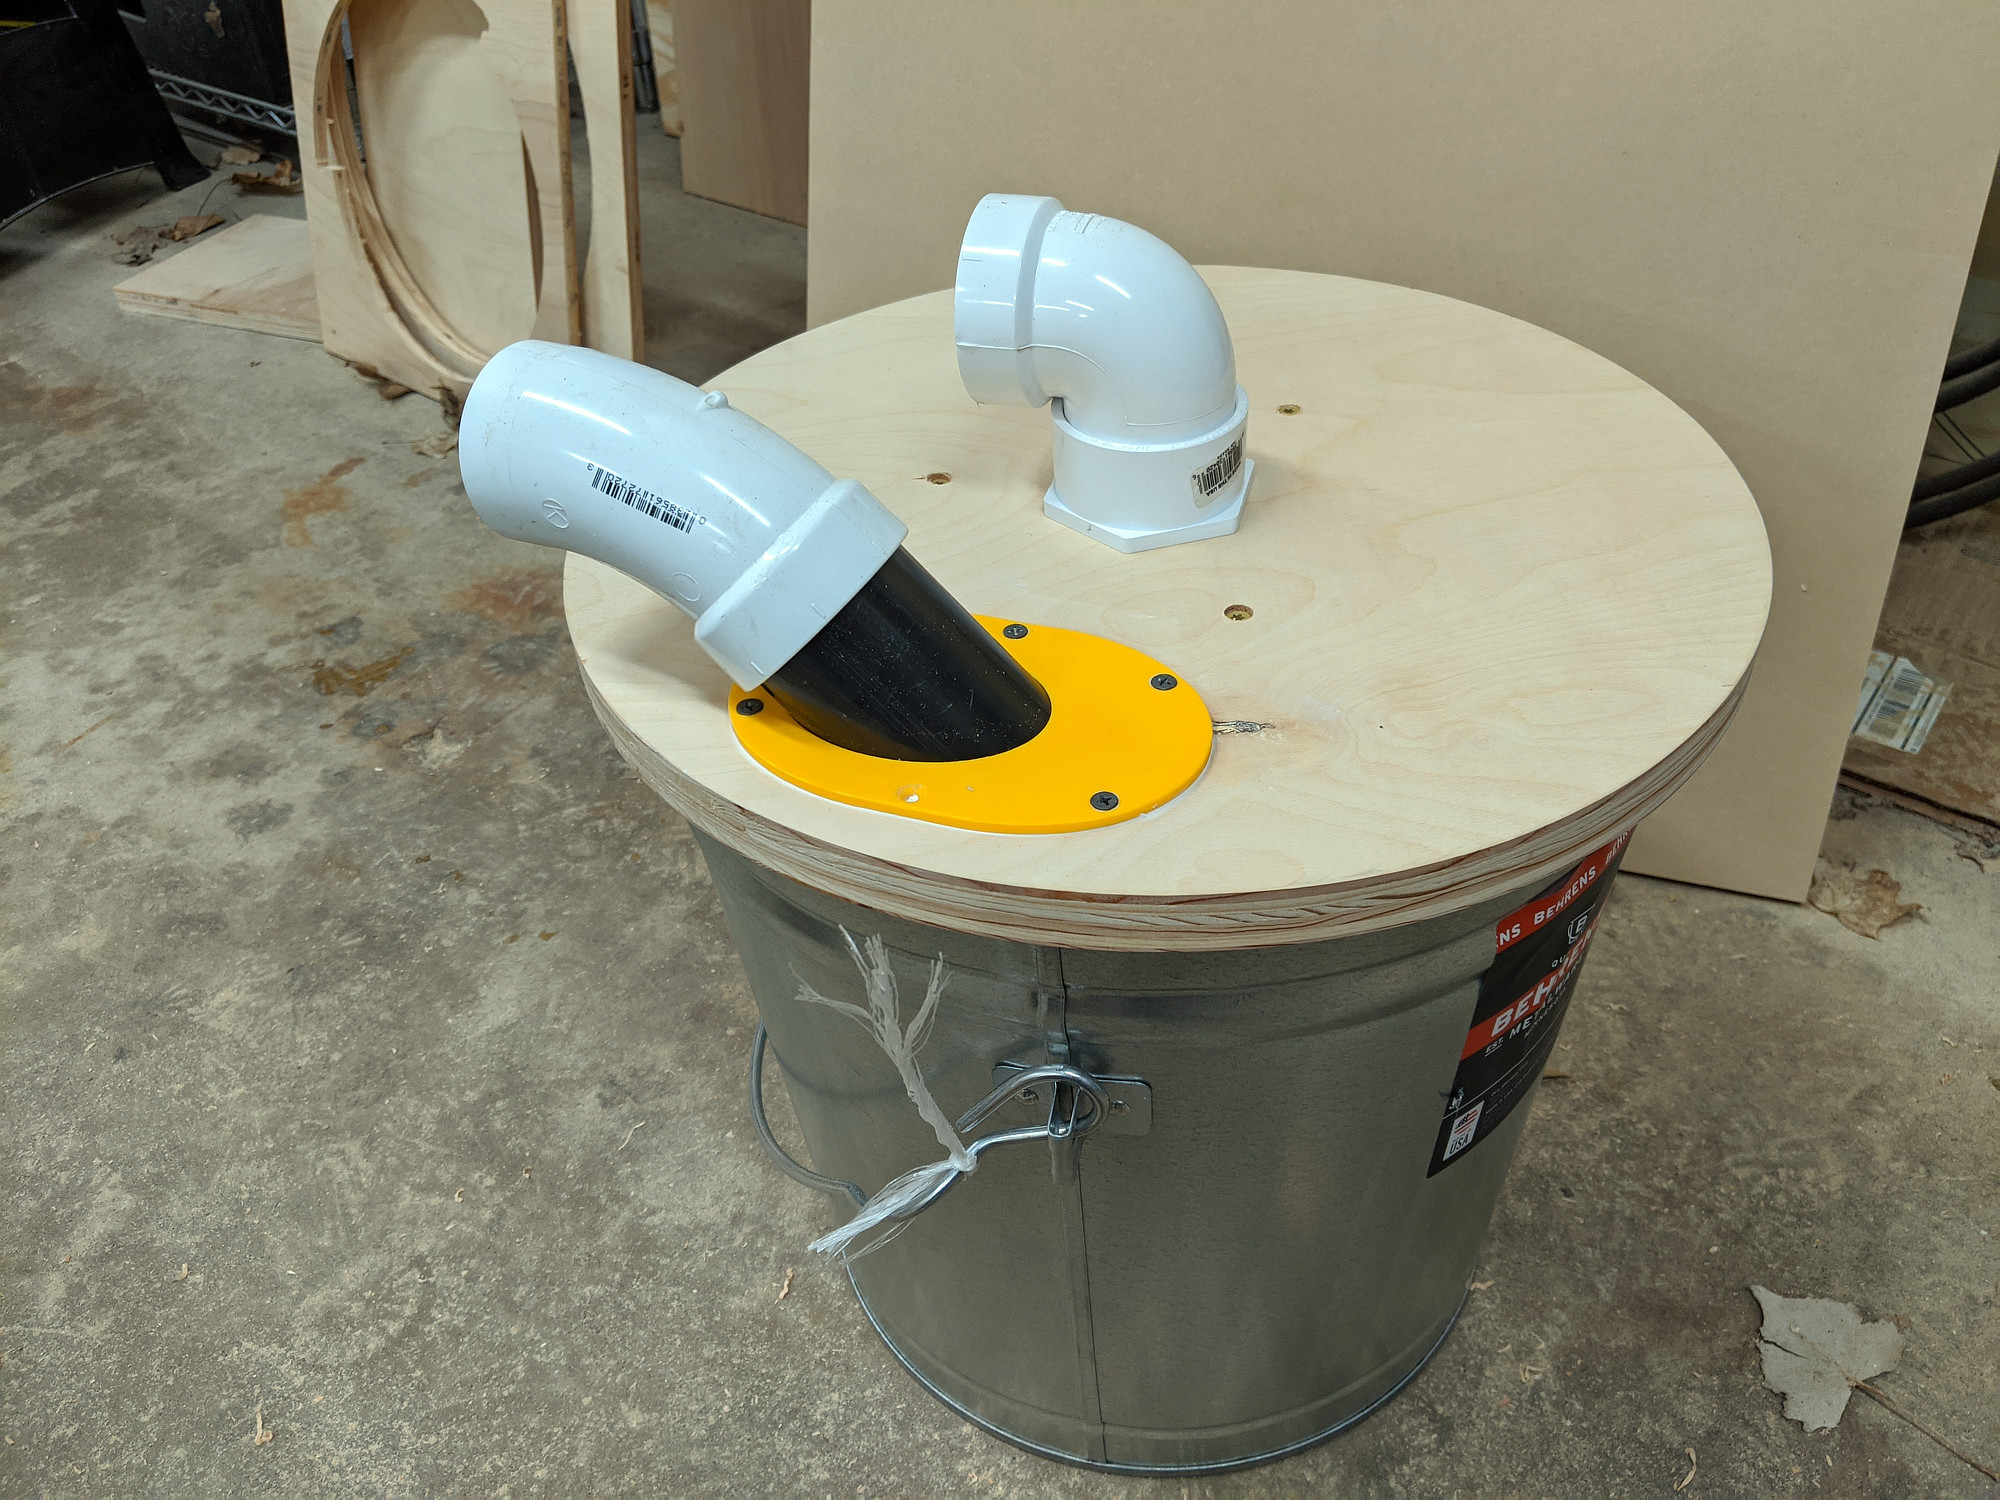
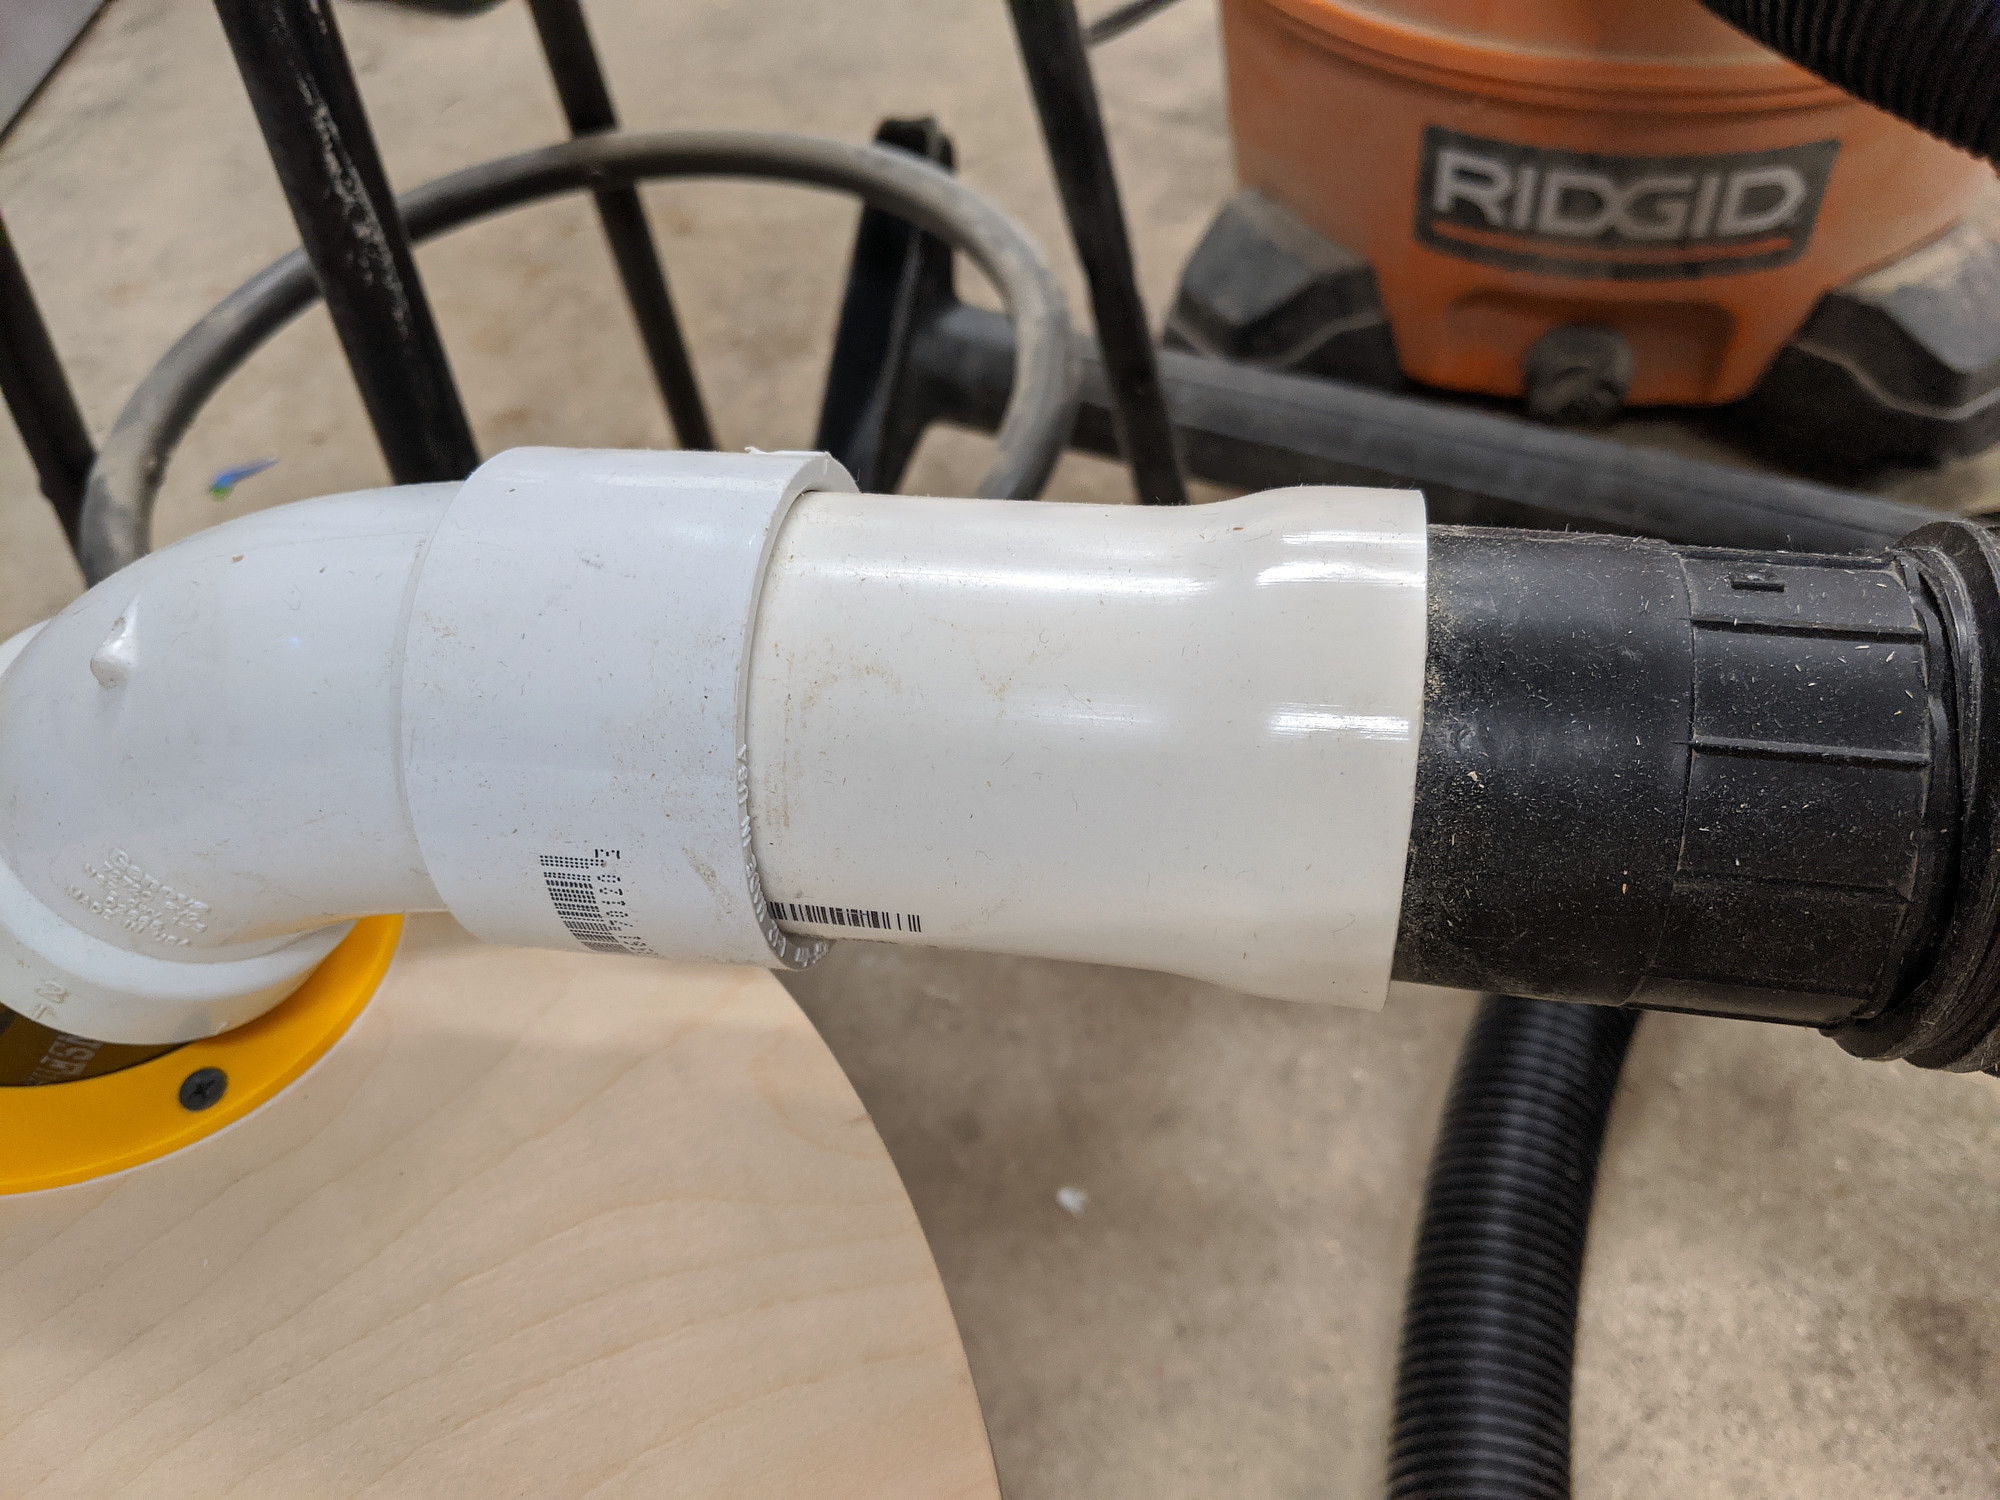
To connect the separator to my shopvac and hoses, I used 2” PVC, heated (agonizingly slowly) with a (tiny) heatgun until they could be formed over my hose fittings.
It works well, but I haven’t measured its efficiency. I’m not really seeing anything in the shopvac now though.