

After assembling the Mega V, I ordered some endmills and MDF for a supplemental wasteboard, and while waiting for those to arrive, I made a few pen holders to get a feel for the machine and sotfware.
For software, I settled on CNCjs because I had a spare raspberry pi available, and it’s open-source and easy to modify.
I’m currently connecting to it with my phone, but have tried with an old android tablet with mixed success.
For small touchscreens, this pendant interface is probably your best bet: cncjs-shopfloor-tablet. It features a simplified interface designed for touchscreens, making it harder to crash while jogging with tiny buttons (though I’ve still managed to).
Pen holders
I ziptied a sharpie to the router first. This kind of works, but since I hadn’t surfaced my spoilboard yet, and it’s a bit warped, the pen can’t follow its contours. Heres what slowly destroying a sharpie looks and sounds like.
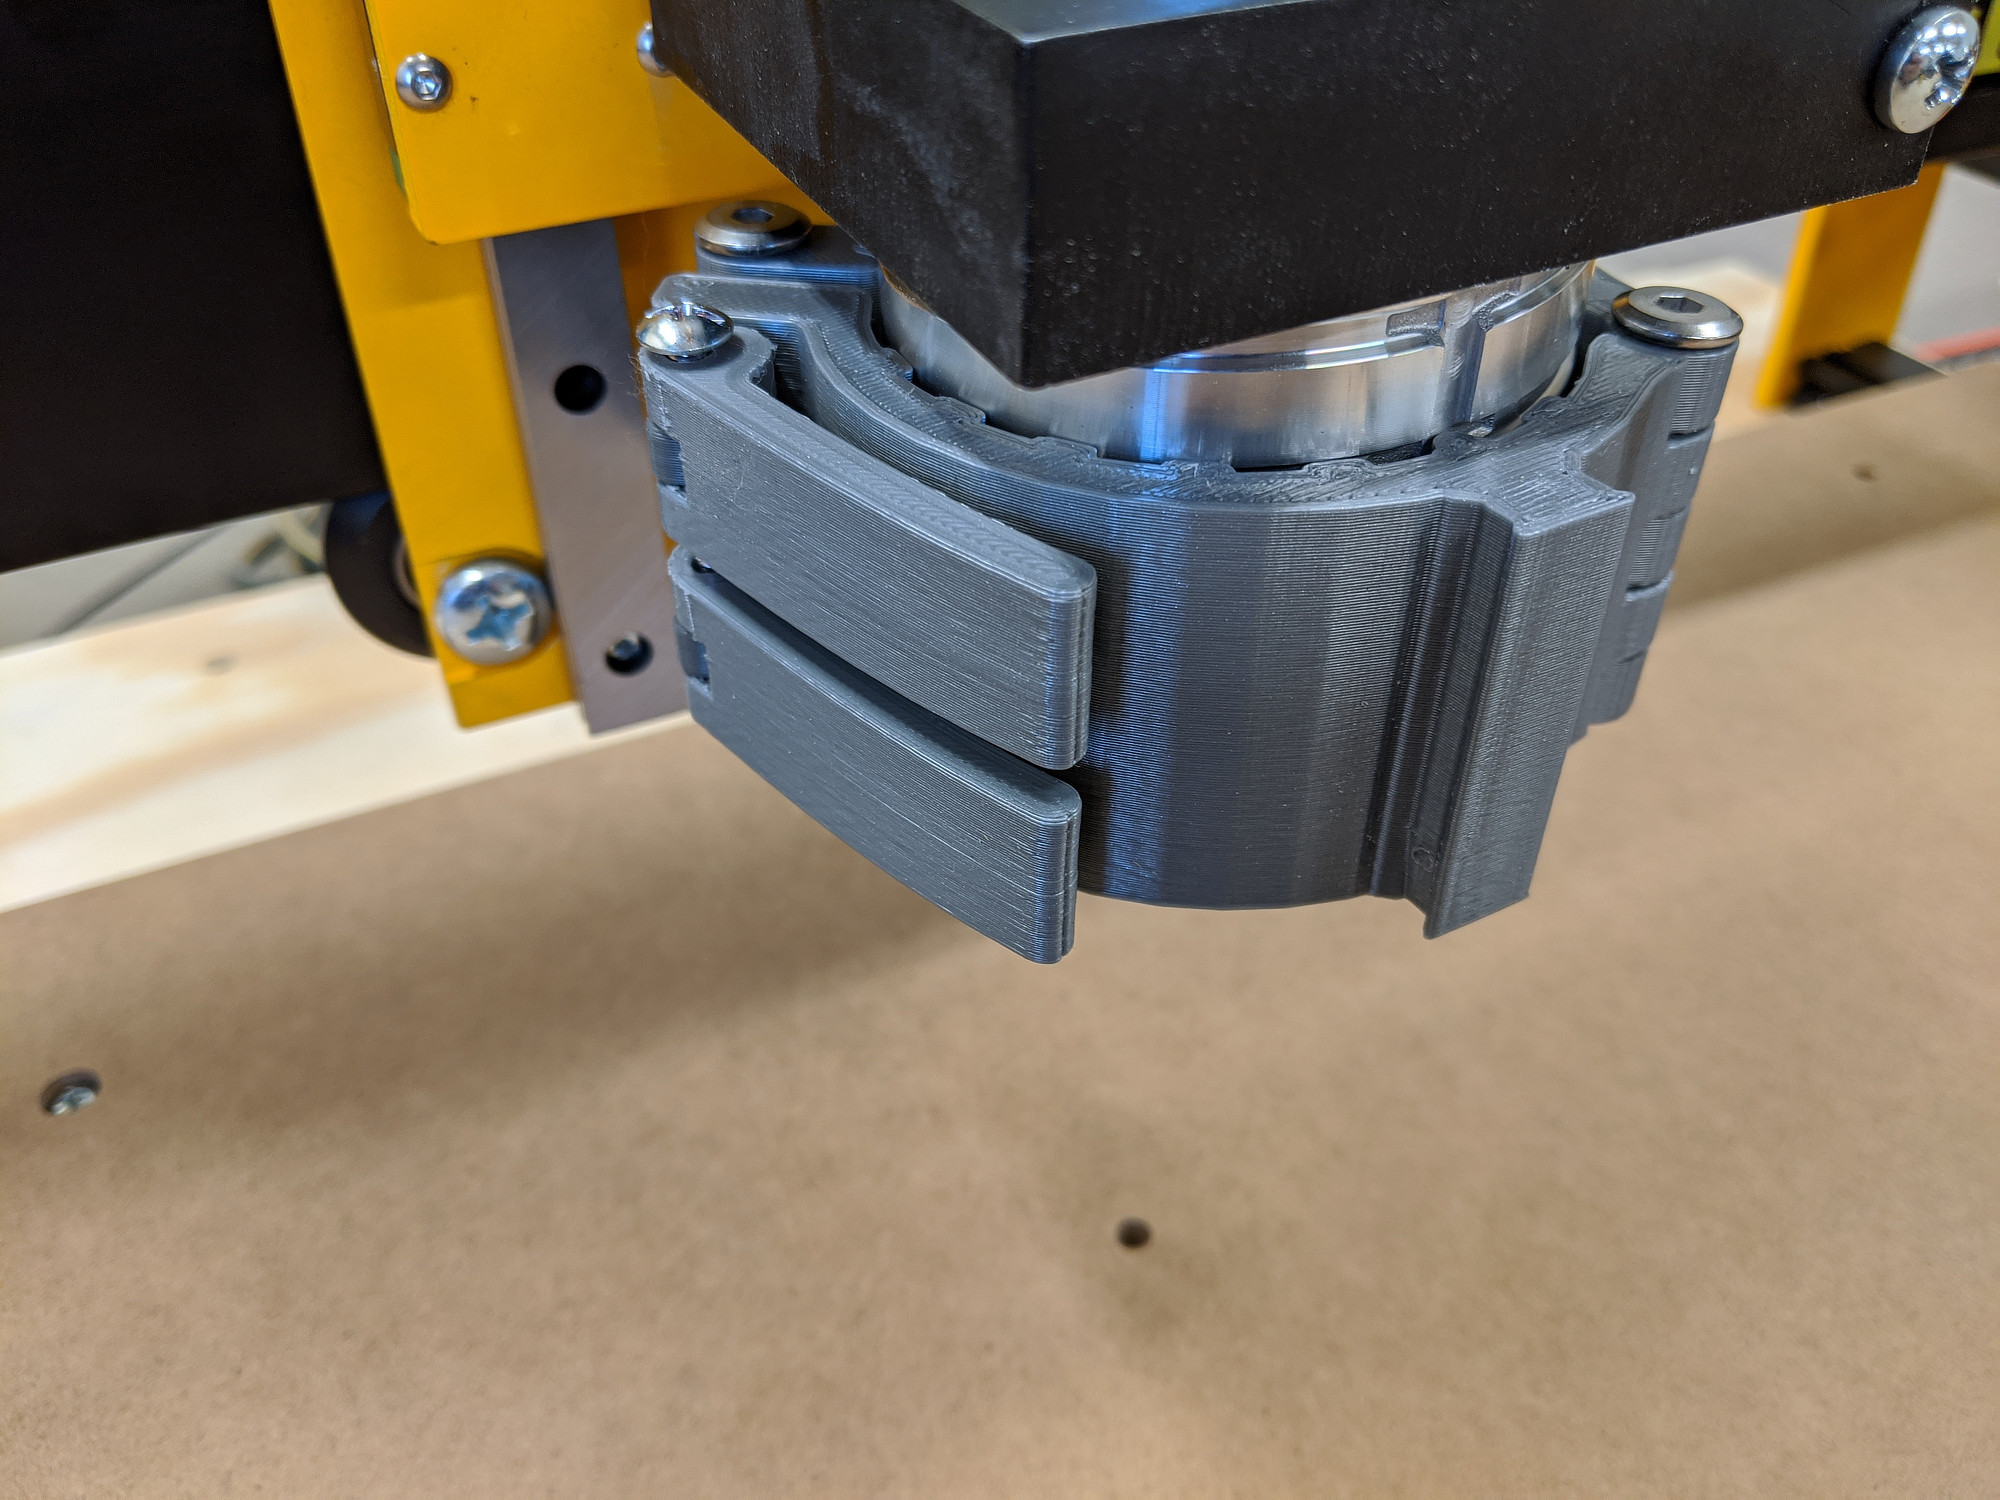
To add a little more flexibility (and because I was still waiting for endmills), I modified a design for quick release router mount to allow for some modular attachments, and then started iterating on pen holders for it.
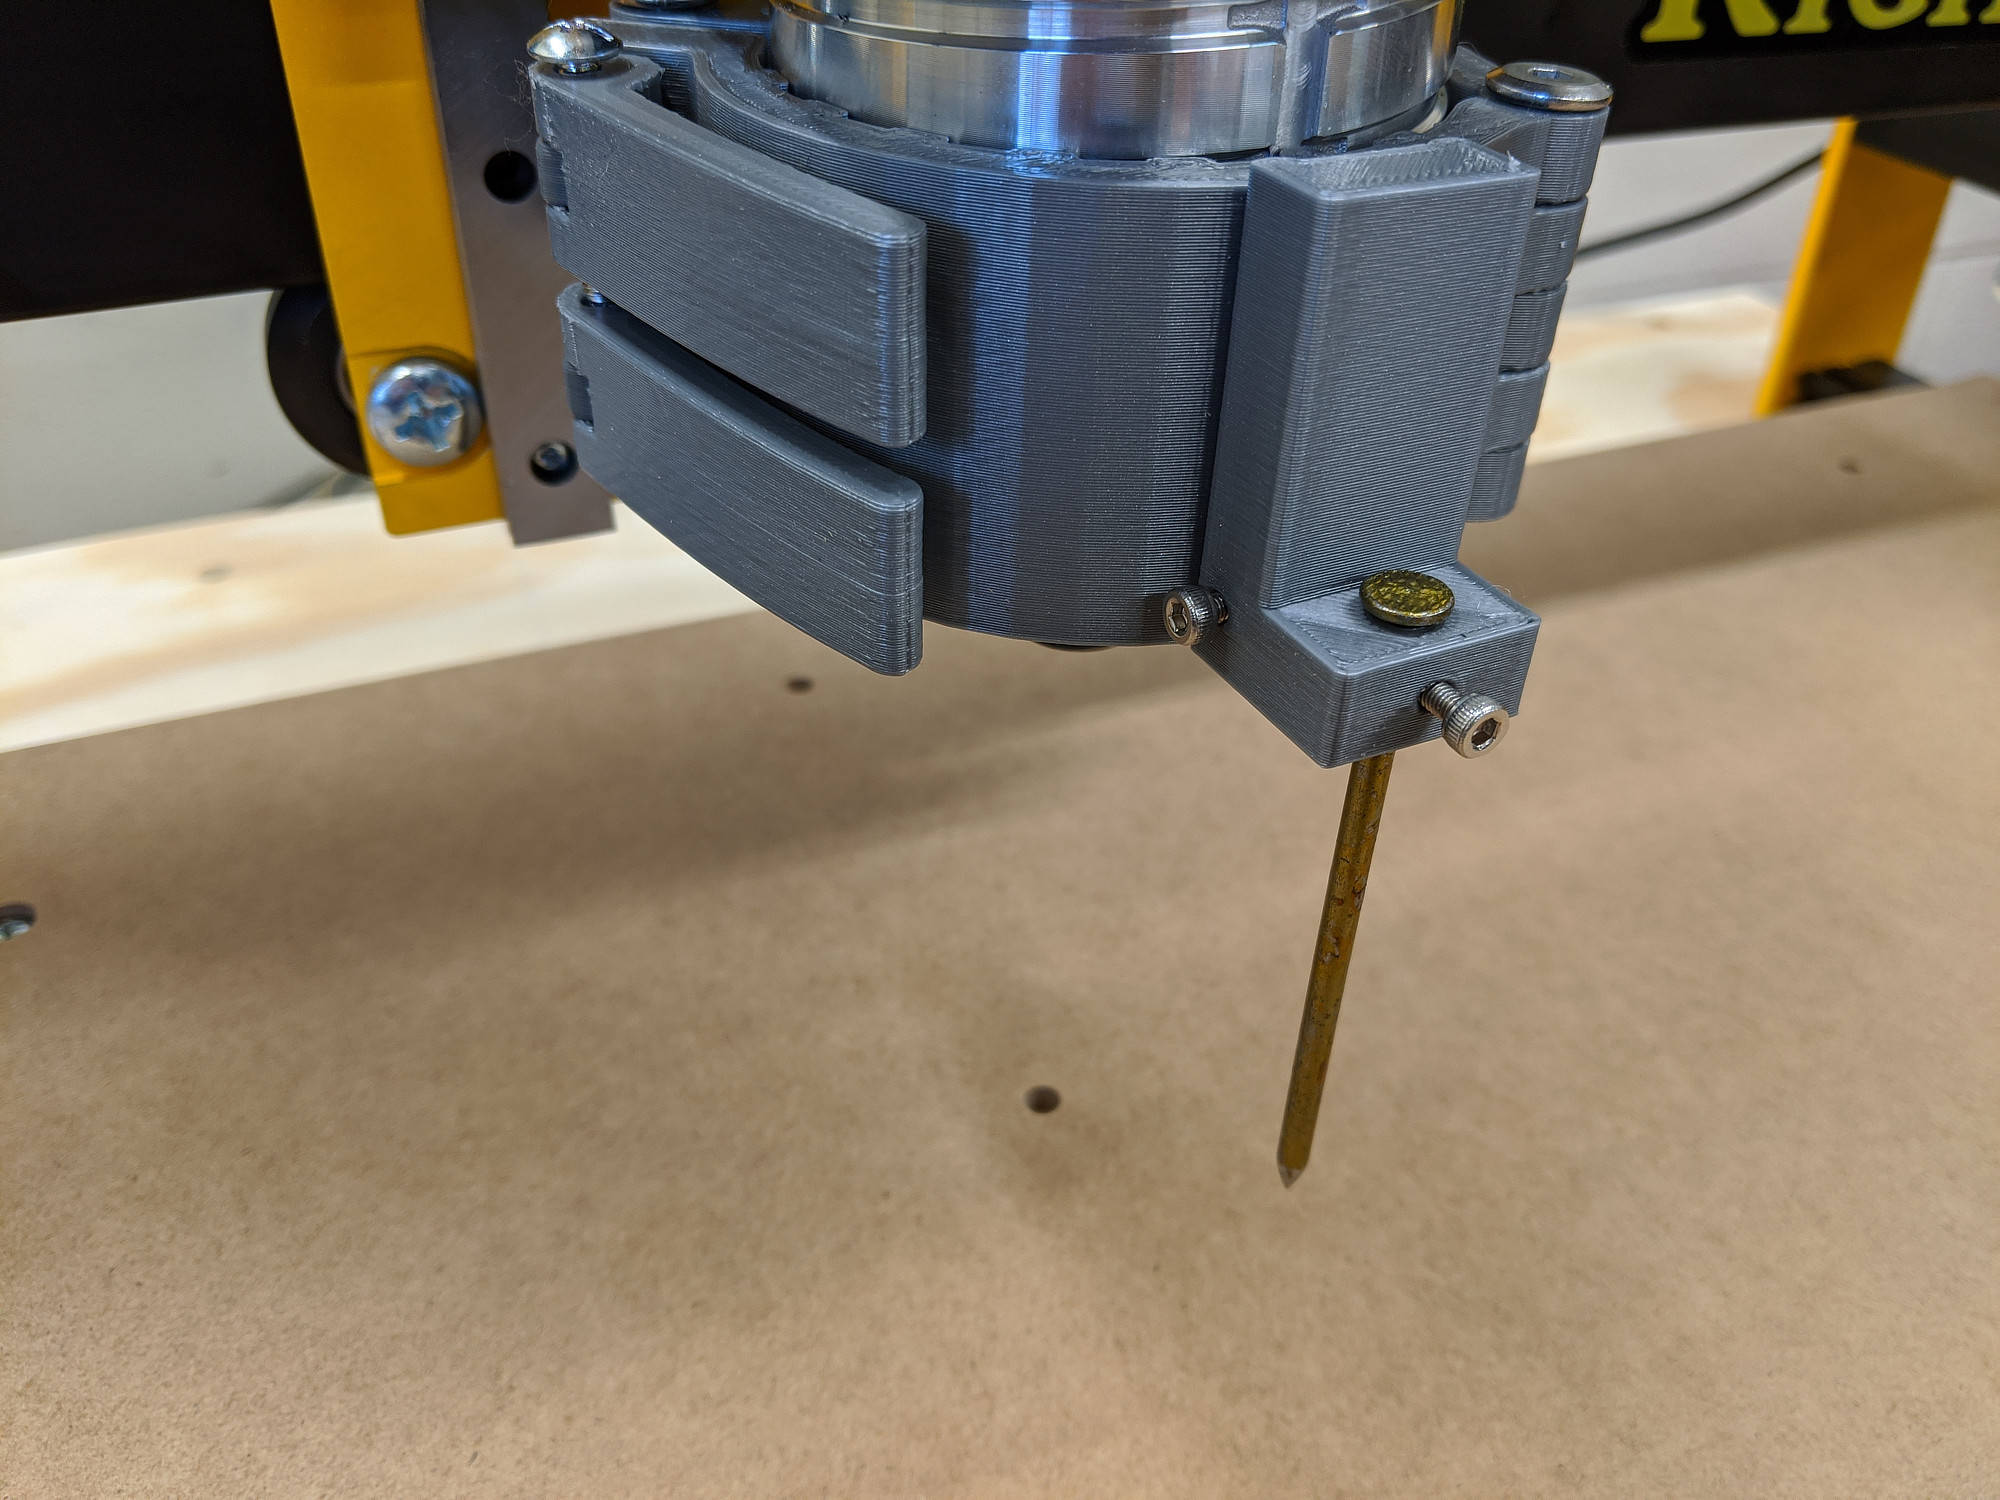
And here it is with a small bracket to hold a sharpened nail (I used it to measure and calibarte motor steps).
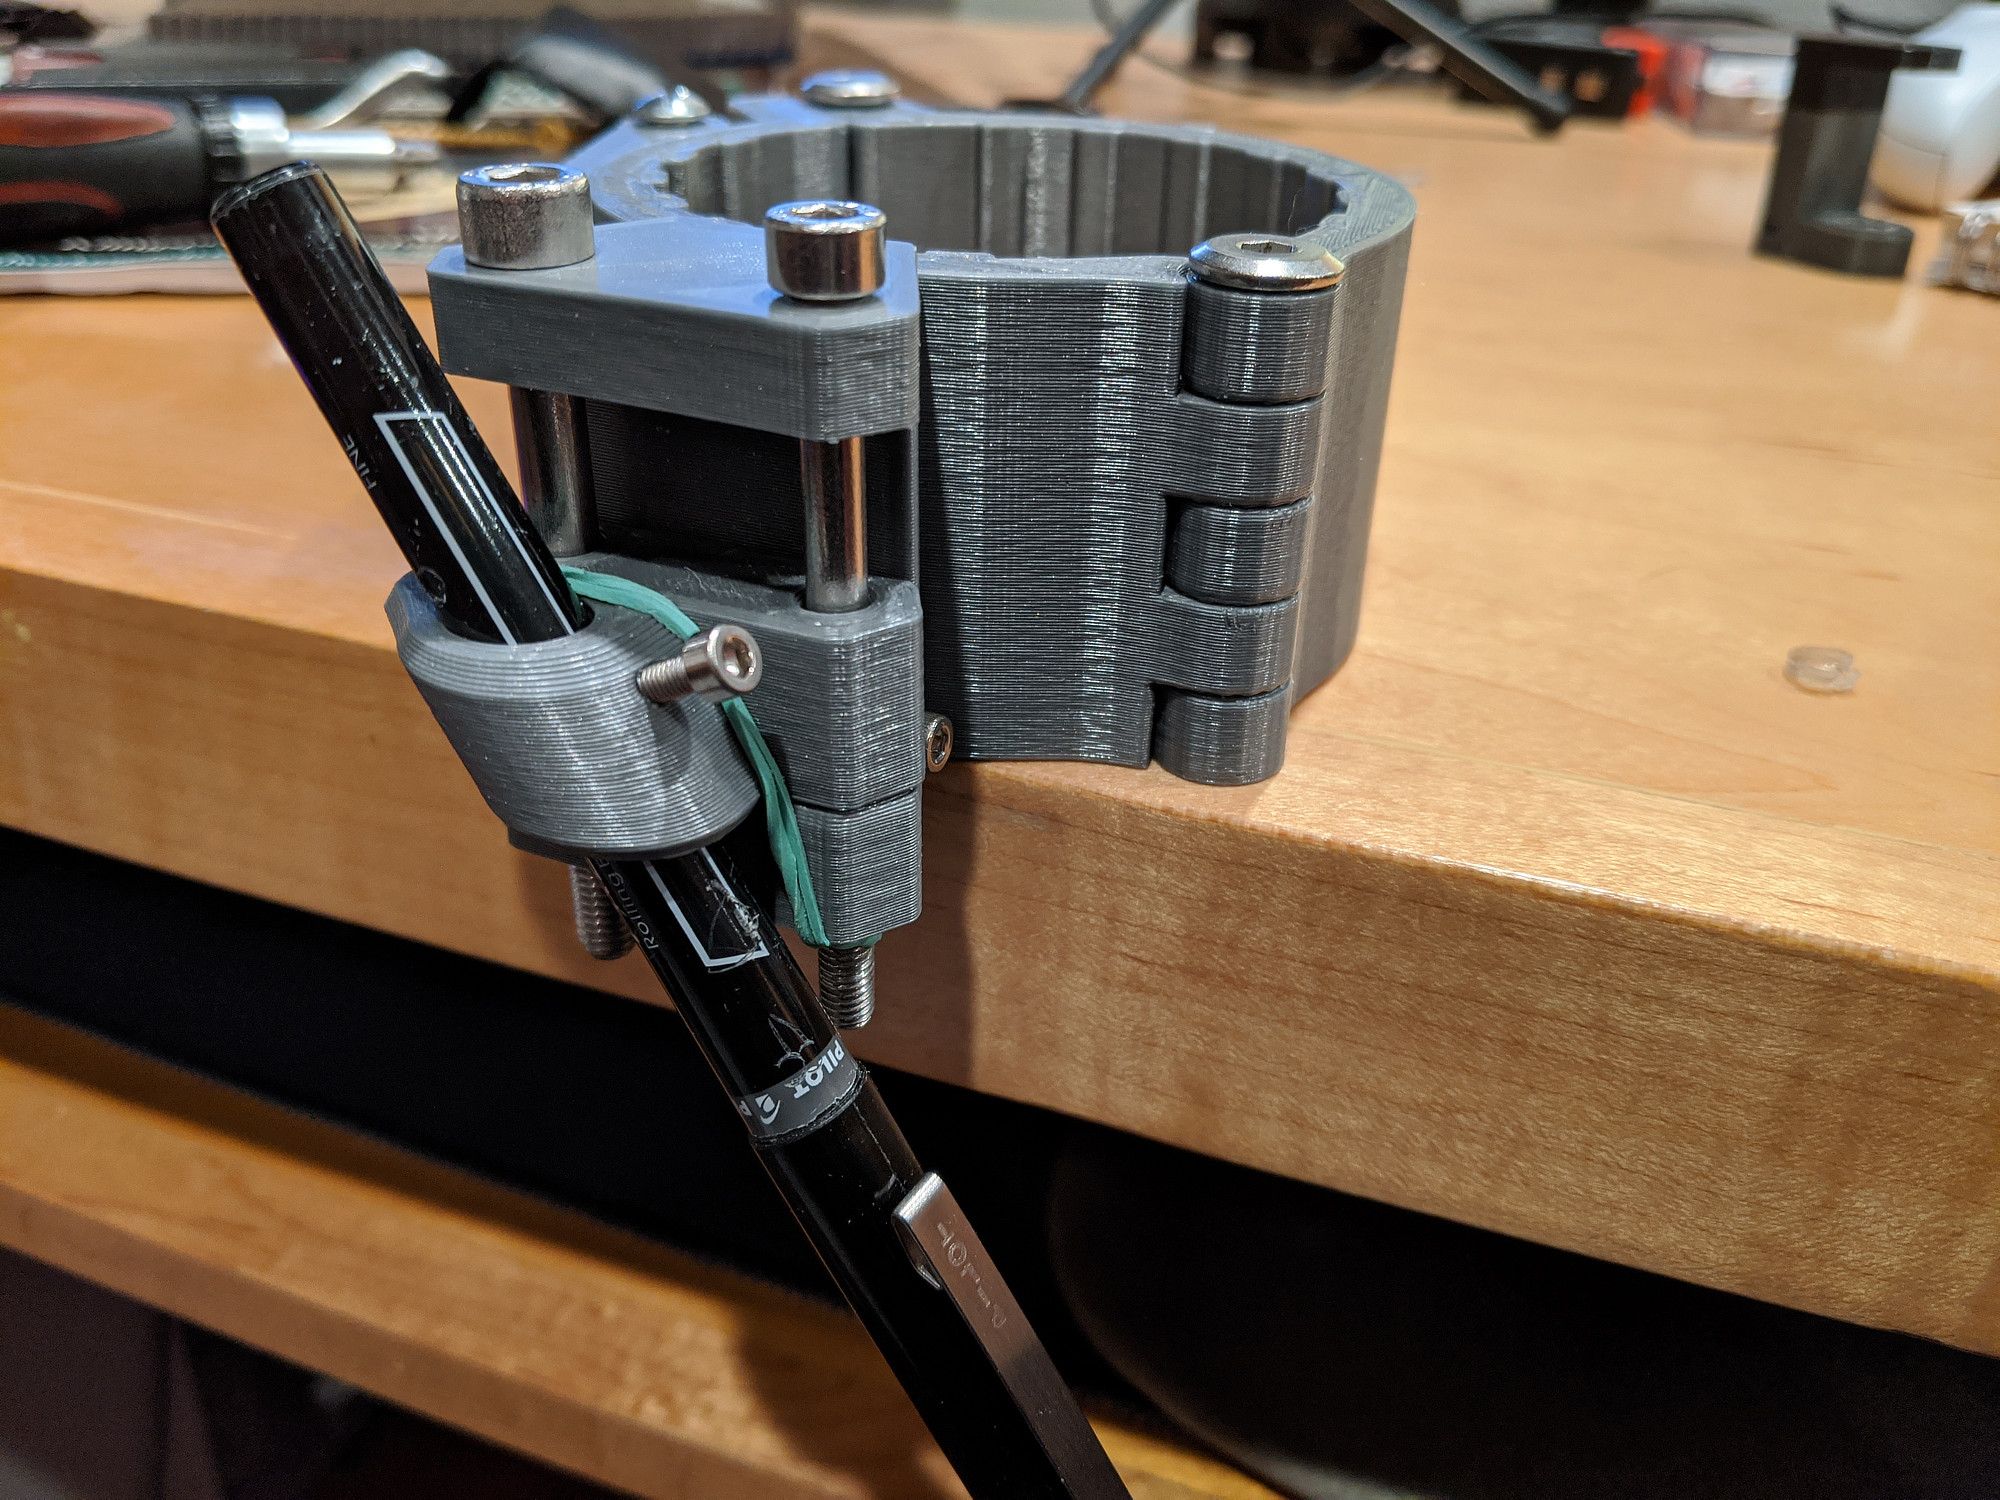
Pen holder the first
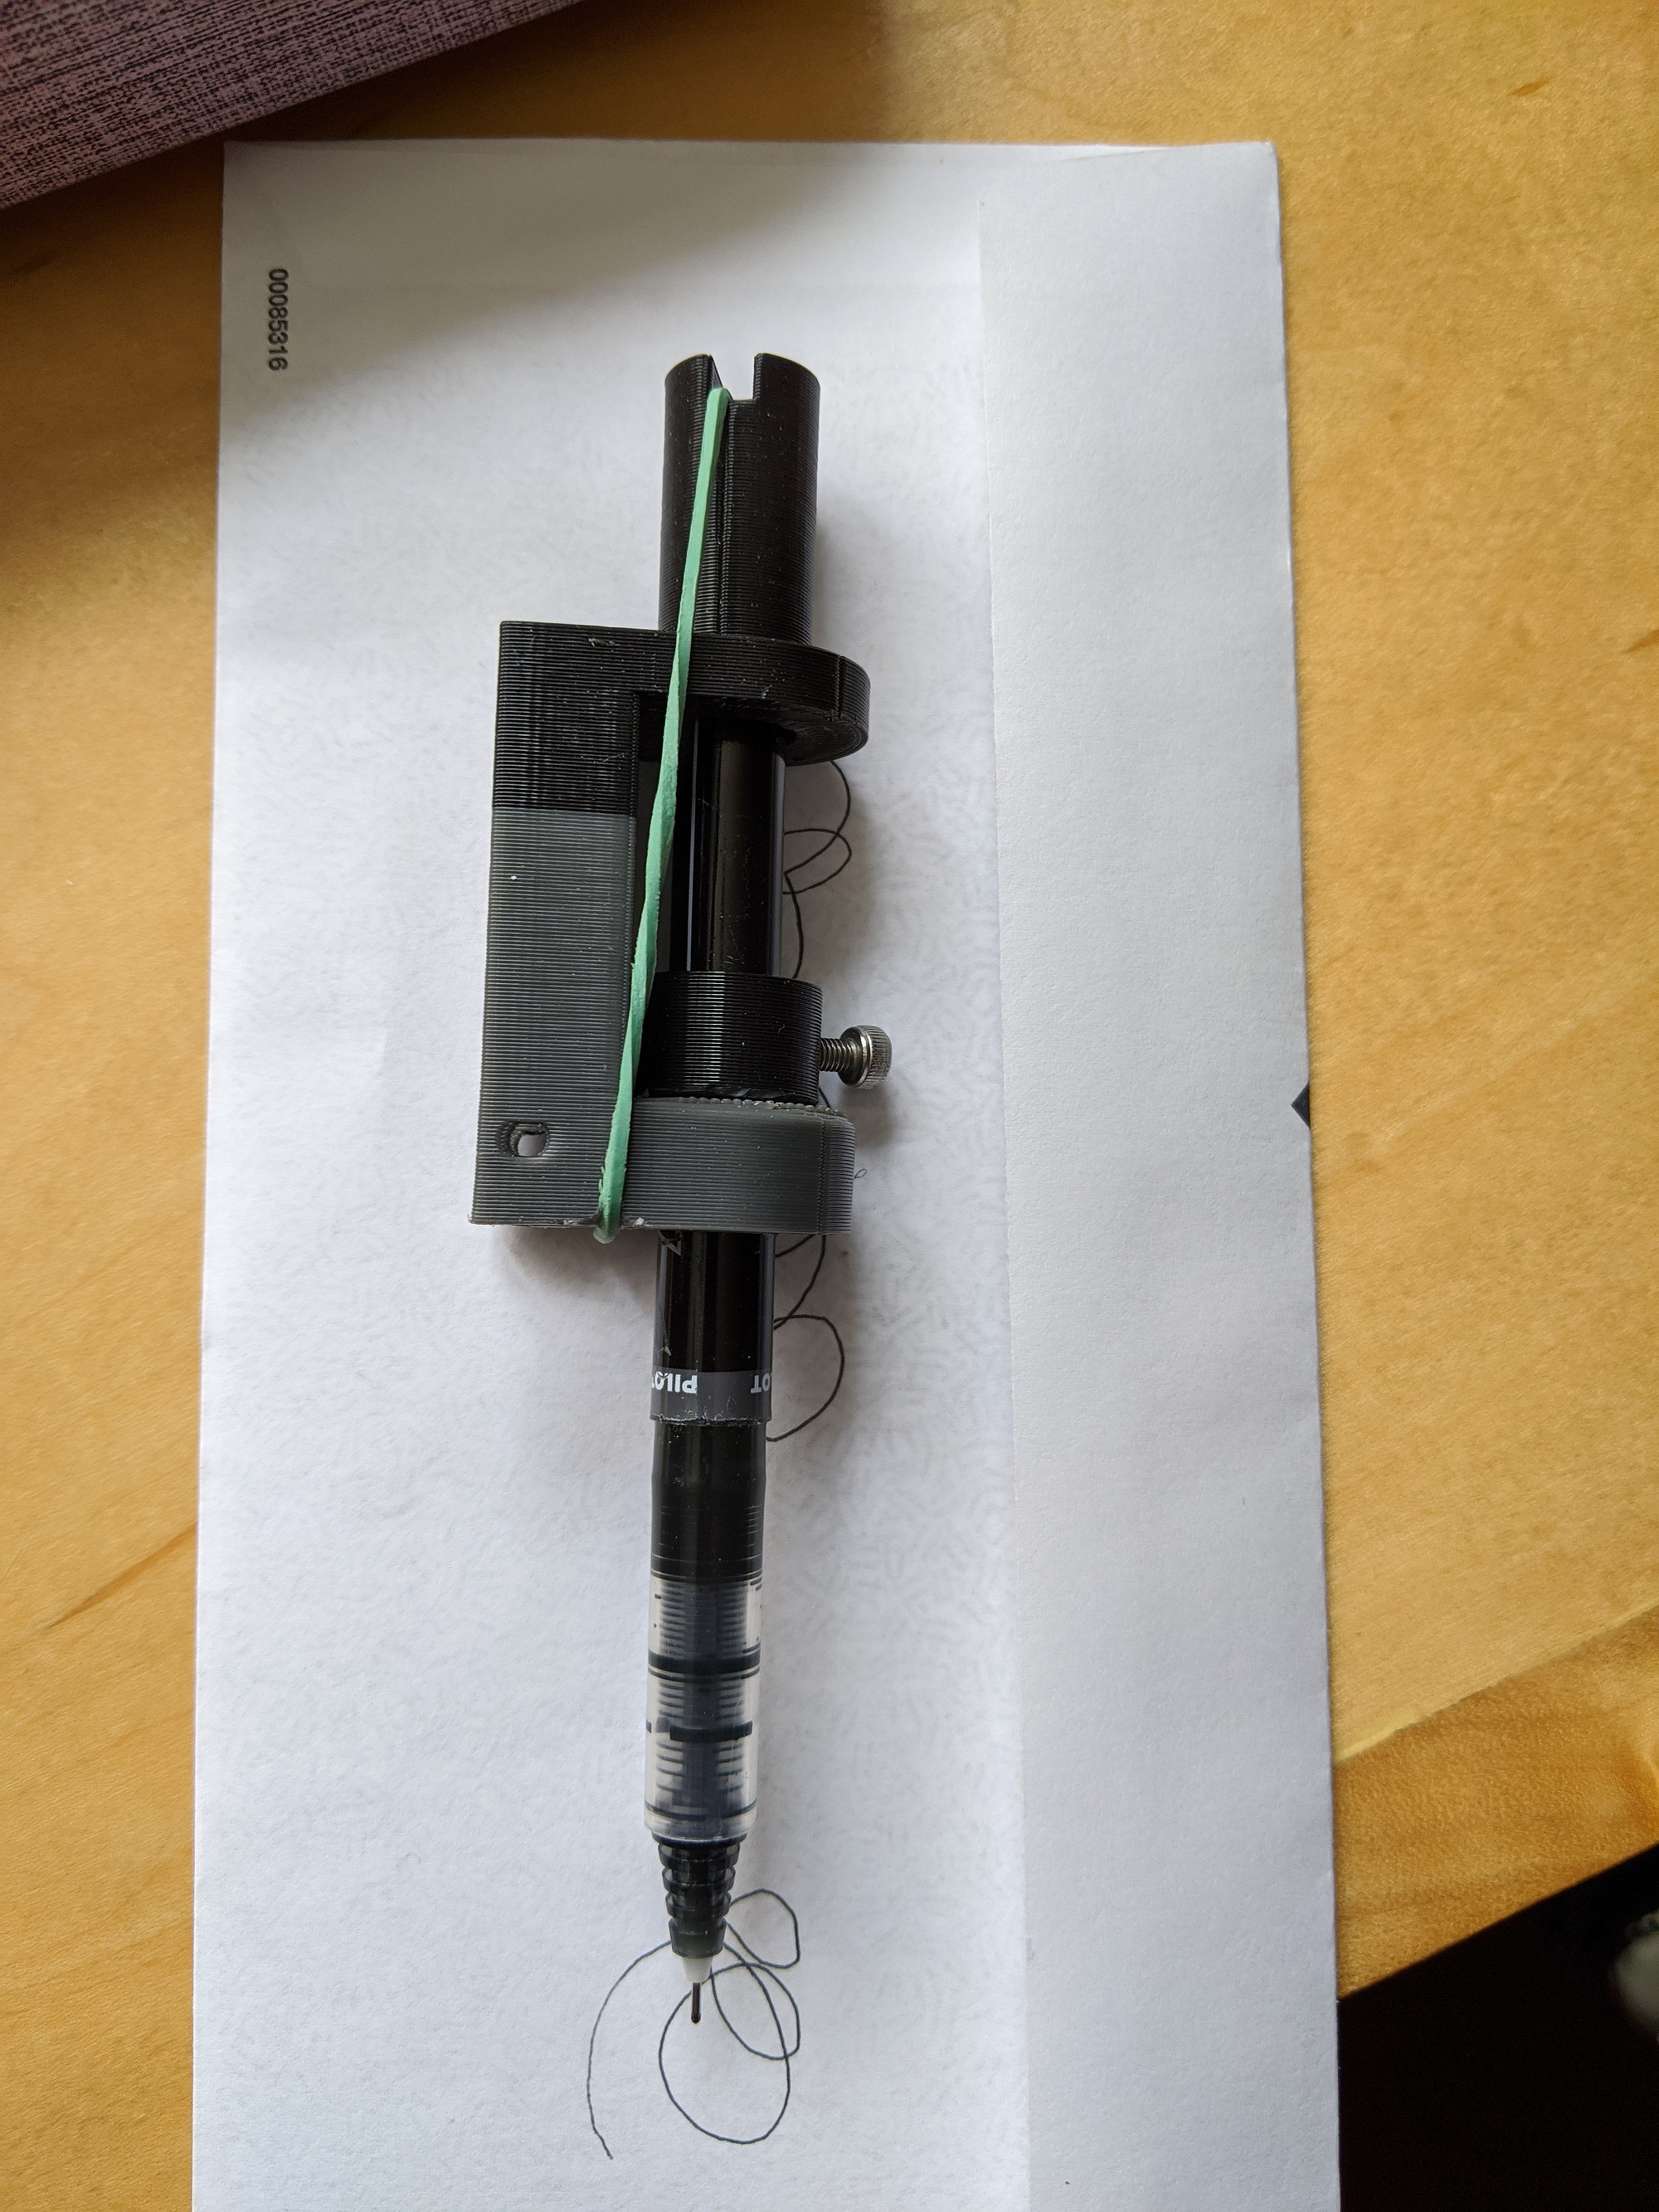
This one is very simple. It uses a collar with a set screw to keep the pen from sliding out, and a cop with a slot to hold a rubber band for tension. The pen can move up and down a bit in case of uneven surfaces, and getting the heigh zeroed out exactly isn’t critical.
Here it is running some gcode. I generated the paths for this by passing a photo to blackstripes, and then importing the SVG into Fusion 360 and then running a contour toolpath with no cut compensation.
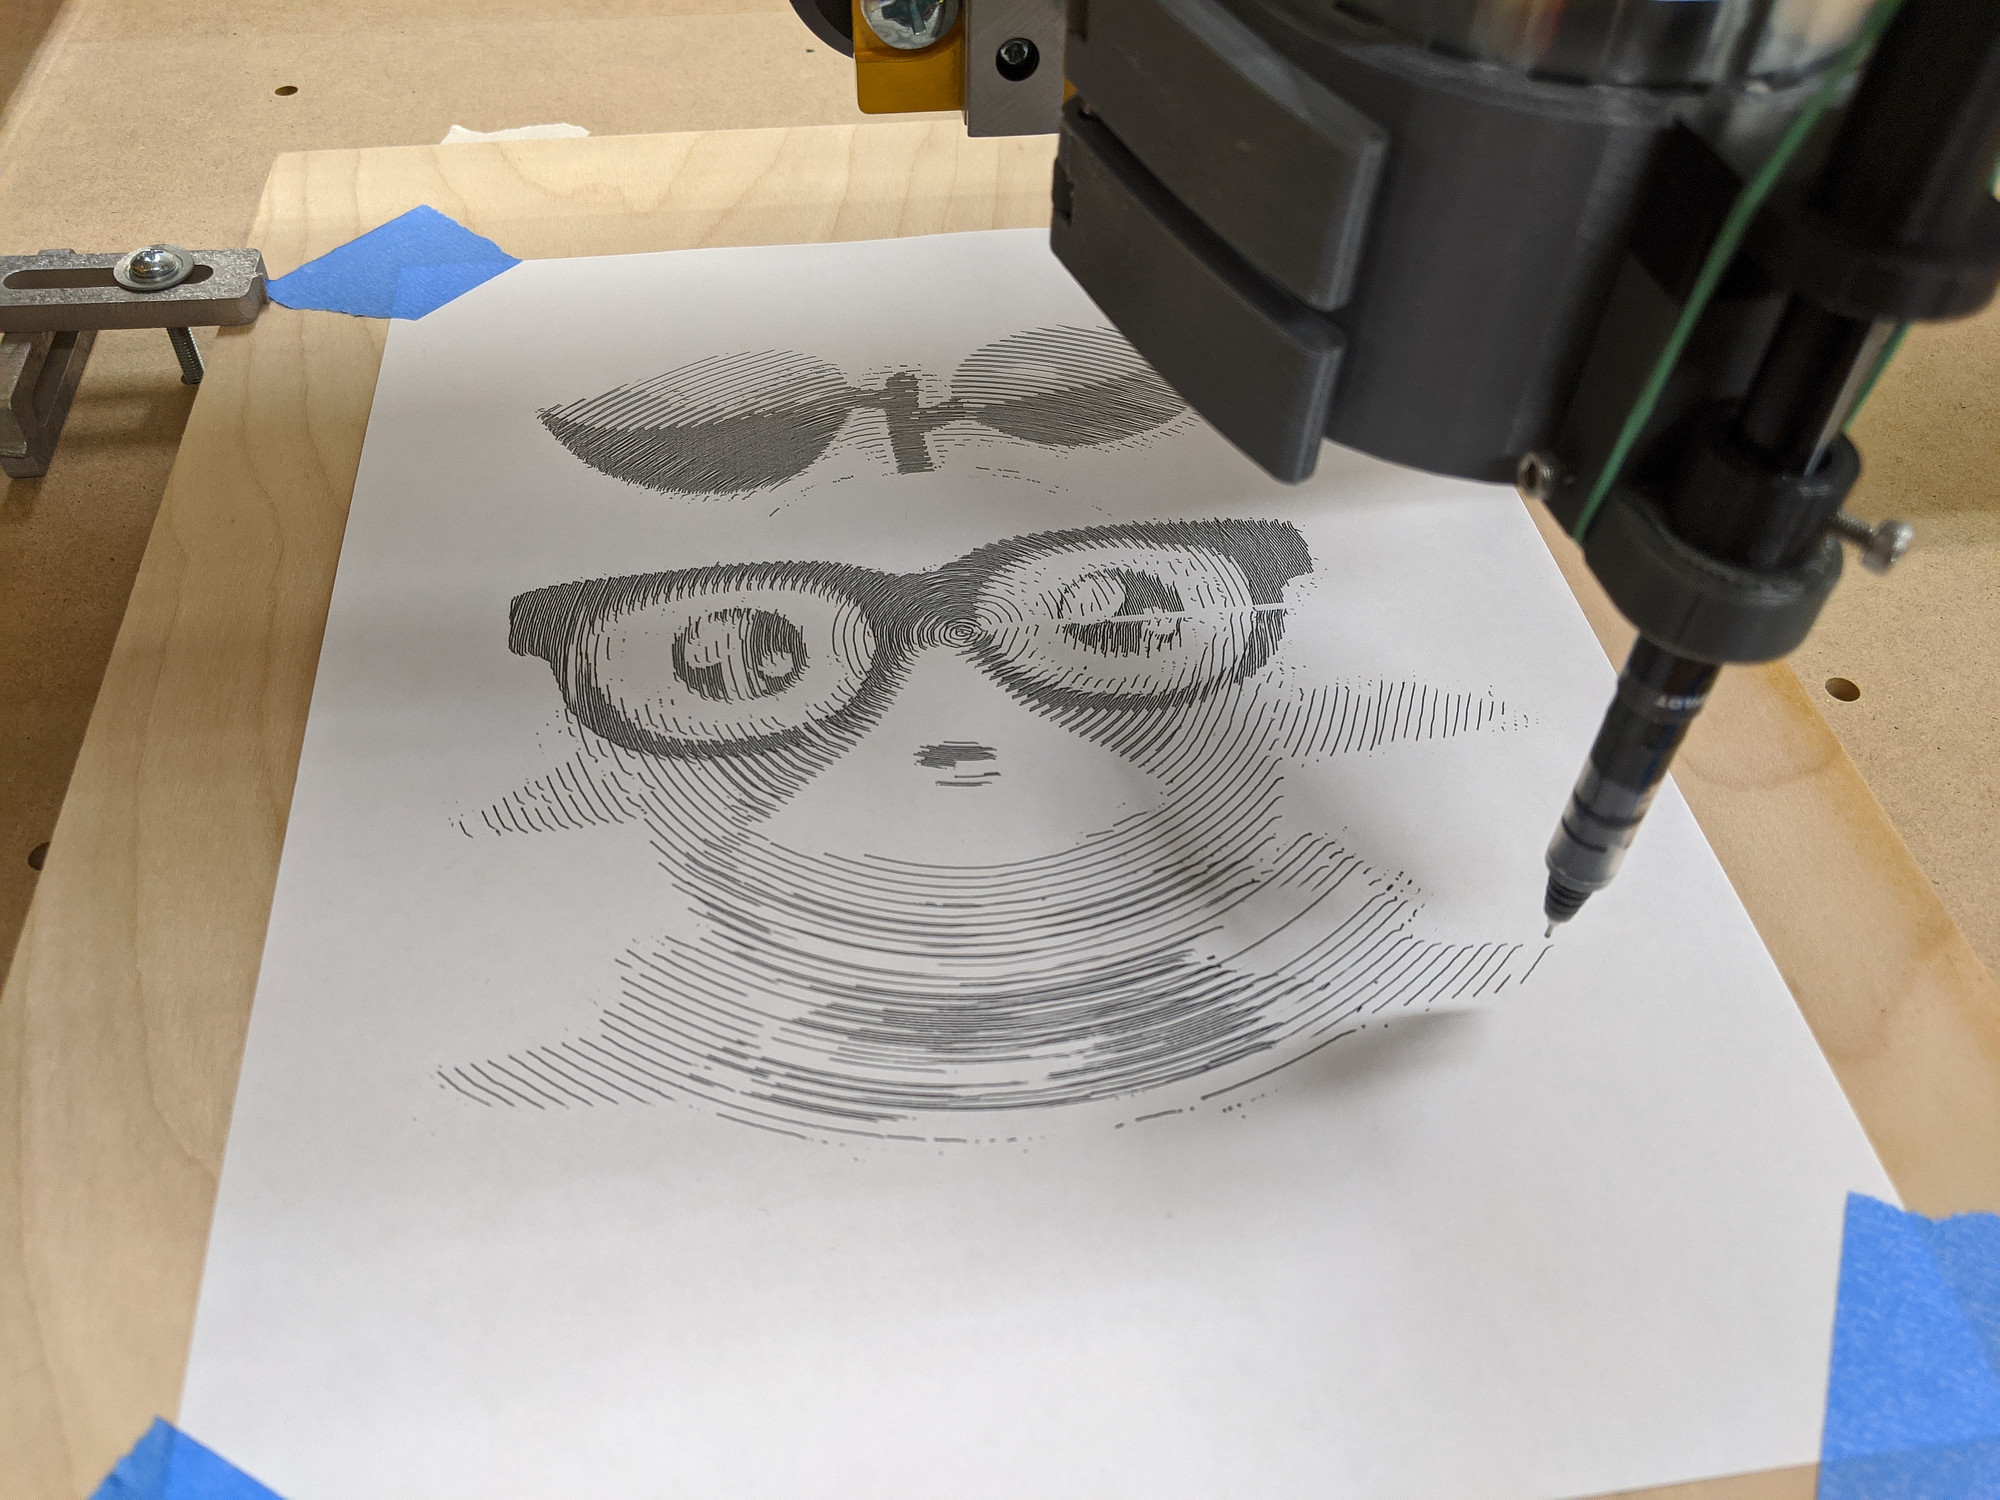
This pen has a bit of a taper though, so the holes that guide it are a bit oversized, and this causes pen backlash when drawing.
Also, lots of little dots without much sideways movement prevents the ink from flowing a bit. I’d want to find a way to easily skip paths under a certain minimum distance.
Pen holder the second
To reduce some of the backlash, I used a couple of bolts with smooth shafts to guide a pen assembly up and down, without relying on the pen’s diameter. I also tried adding a bit of an angle to the pen, more in line with a natural writing angle. However, this applied a lot of friction between the bolts and the 3d printed plastic when pressing down due to the torque it applied, and the pen got stuck very easily.
Pen holder the third
I reused the sliding base for this one, but turned the pen back to straight upright, so that it can slide up and down more easily.
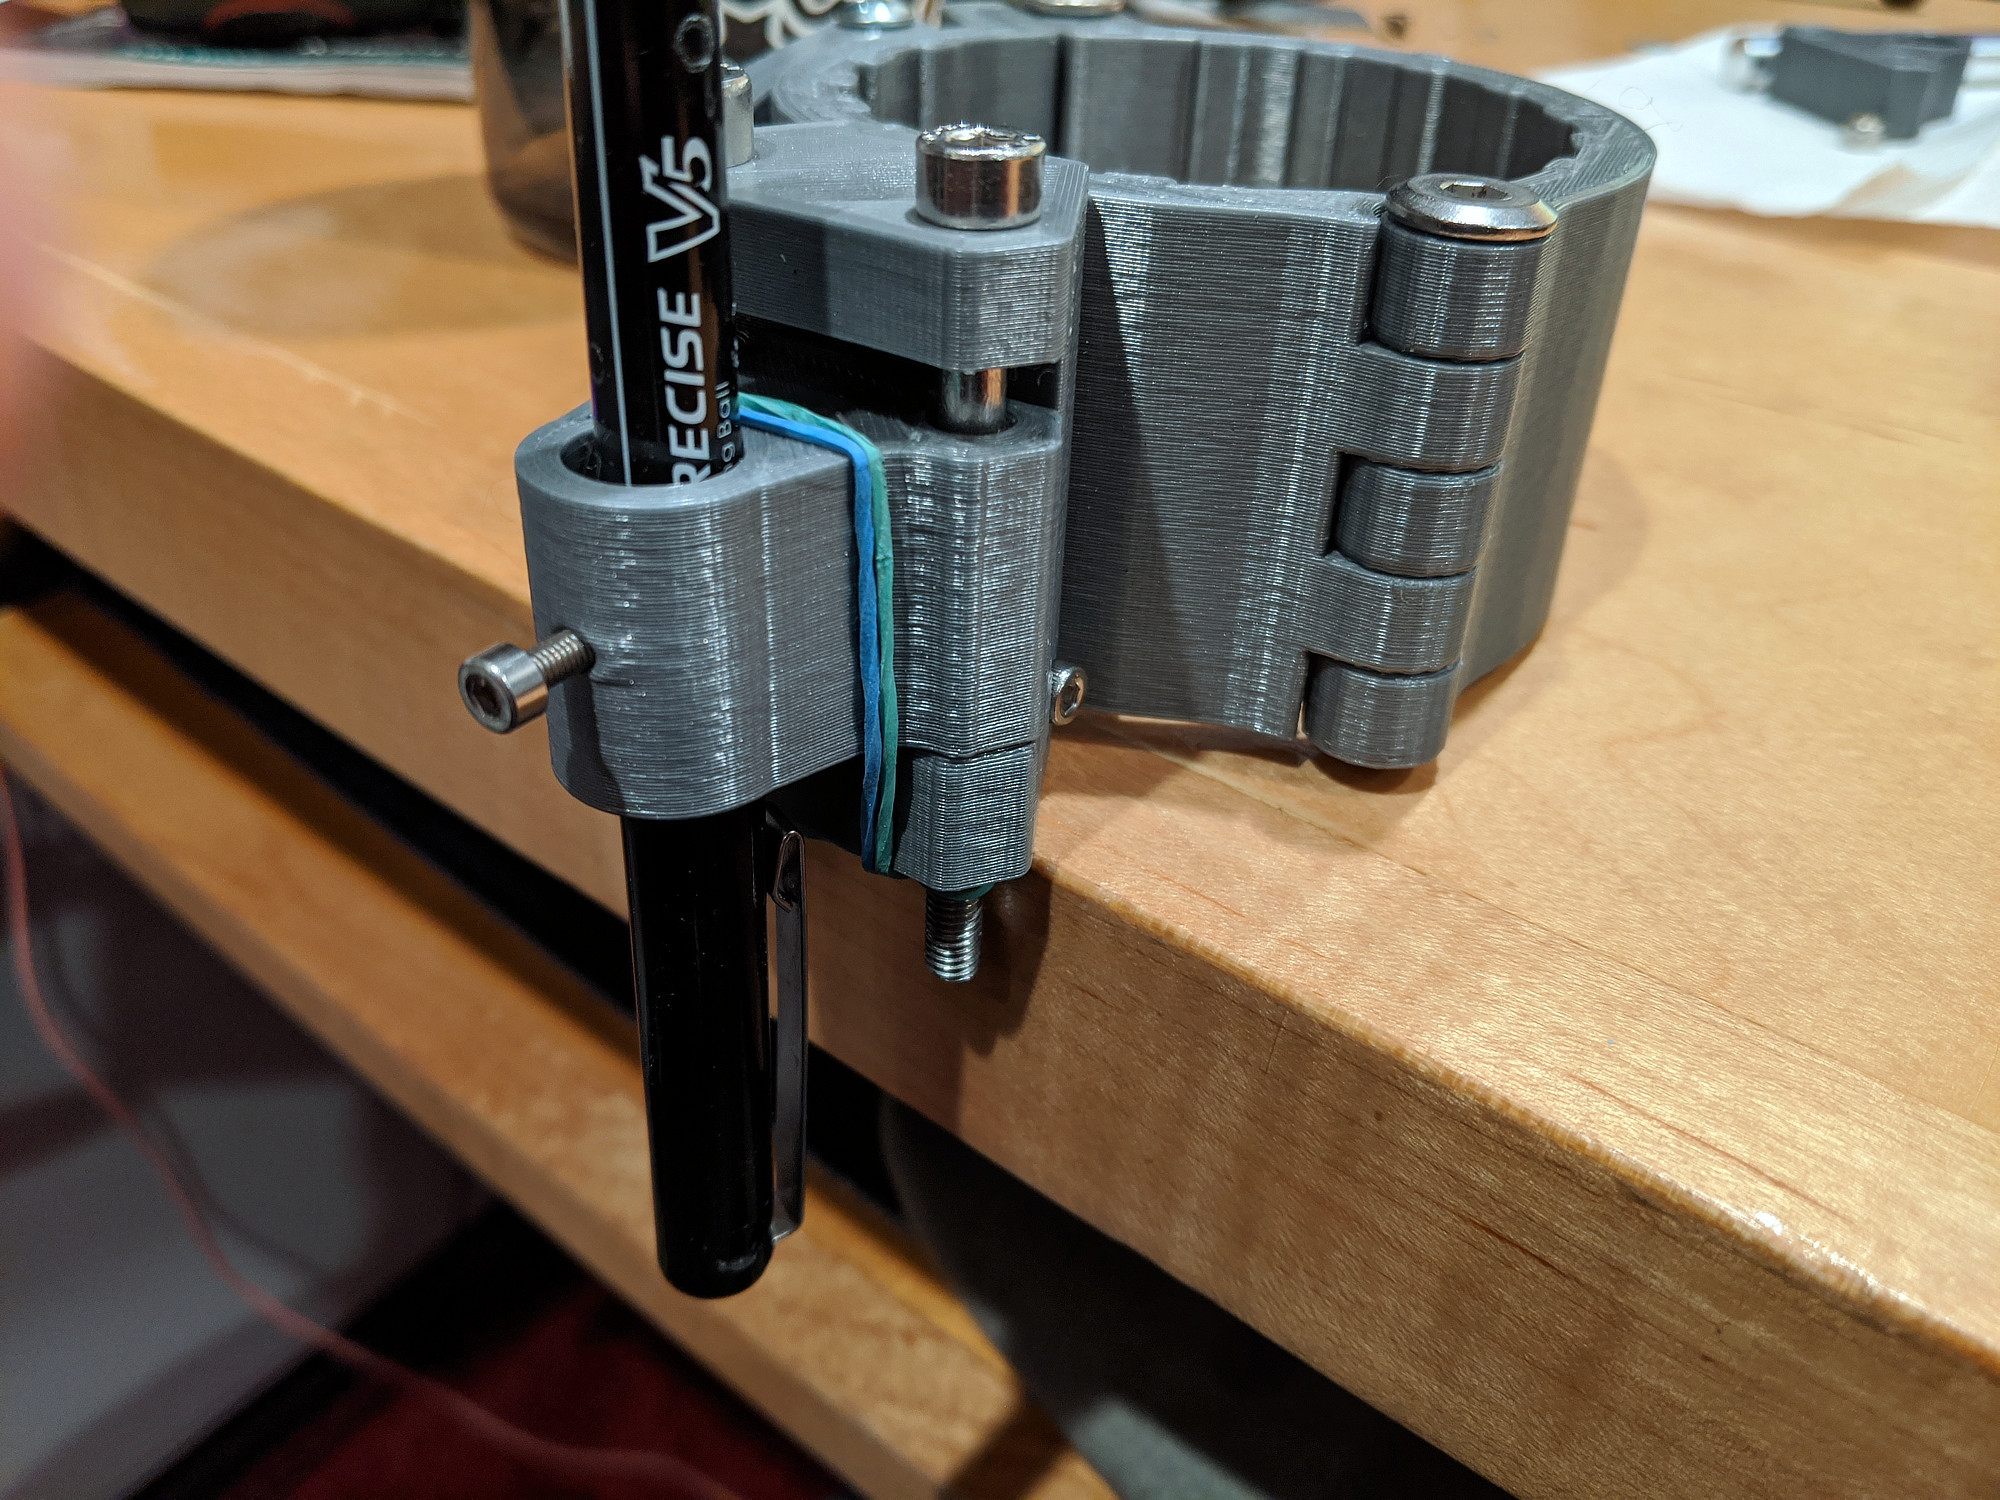
This gave the best result so far, but you can still see some of the play in the system as it “flicks” back into position at the end of each line.
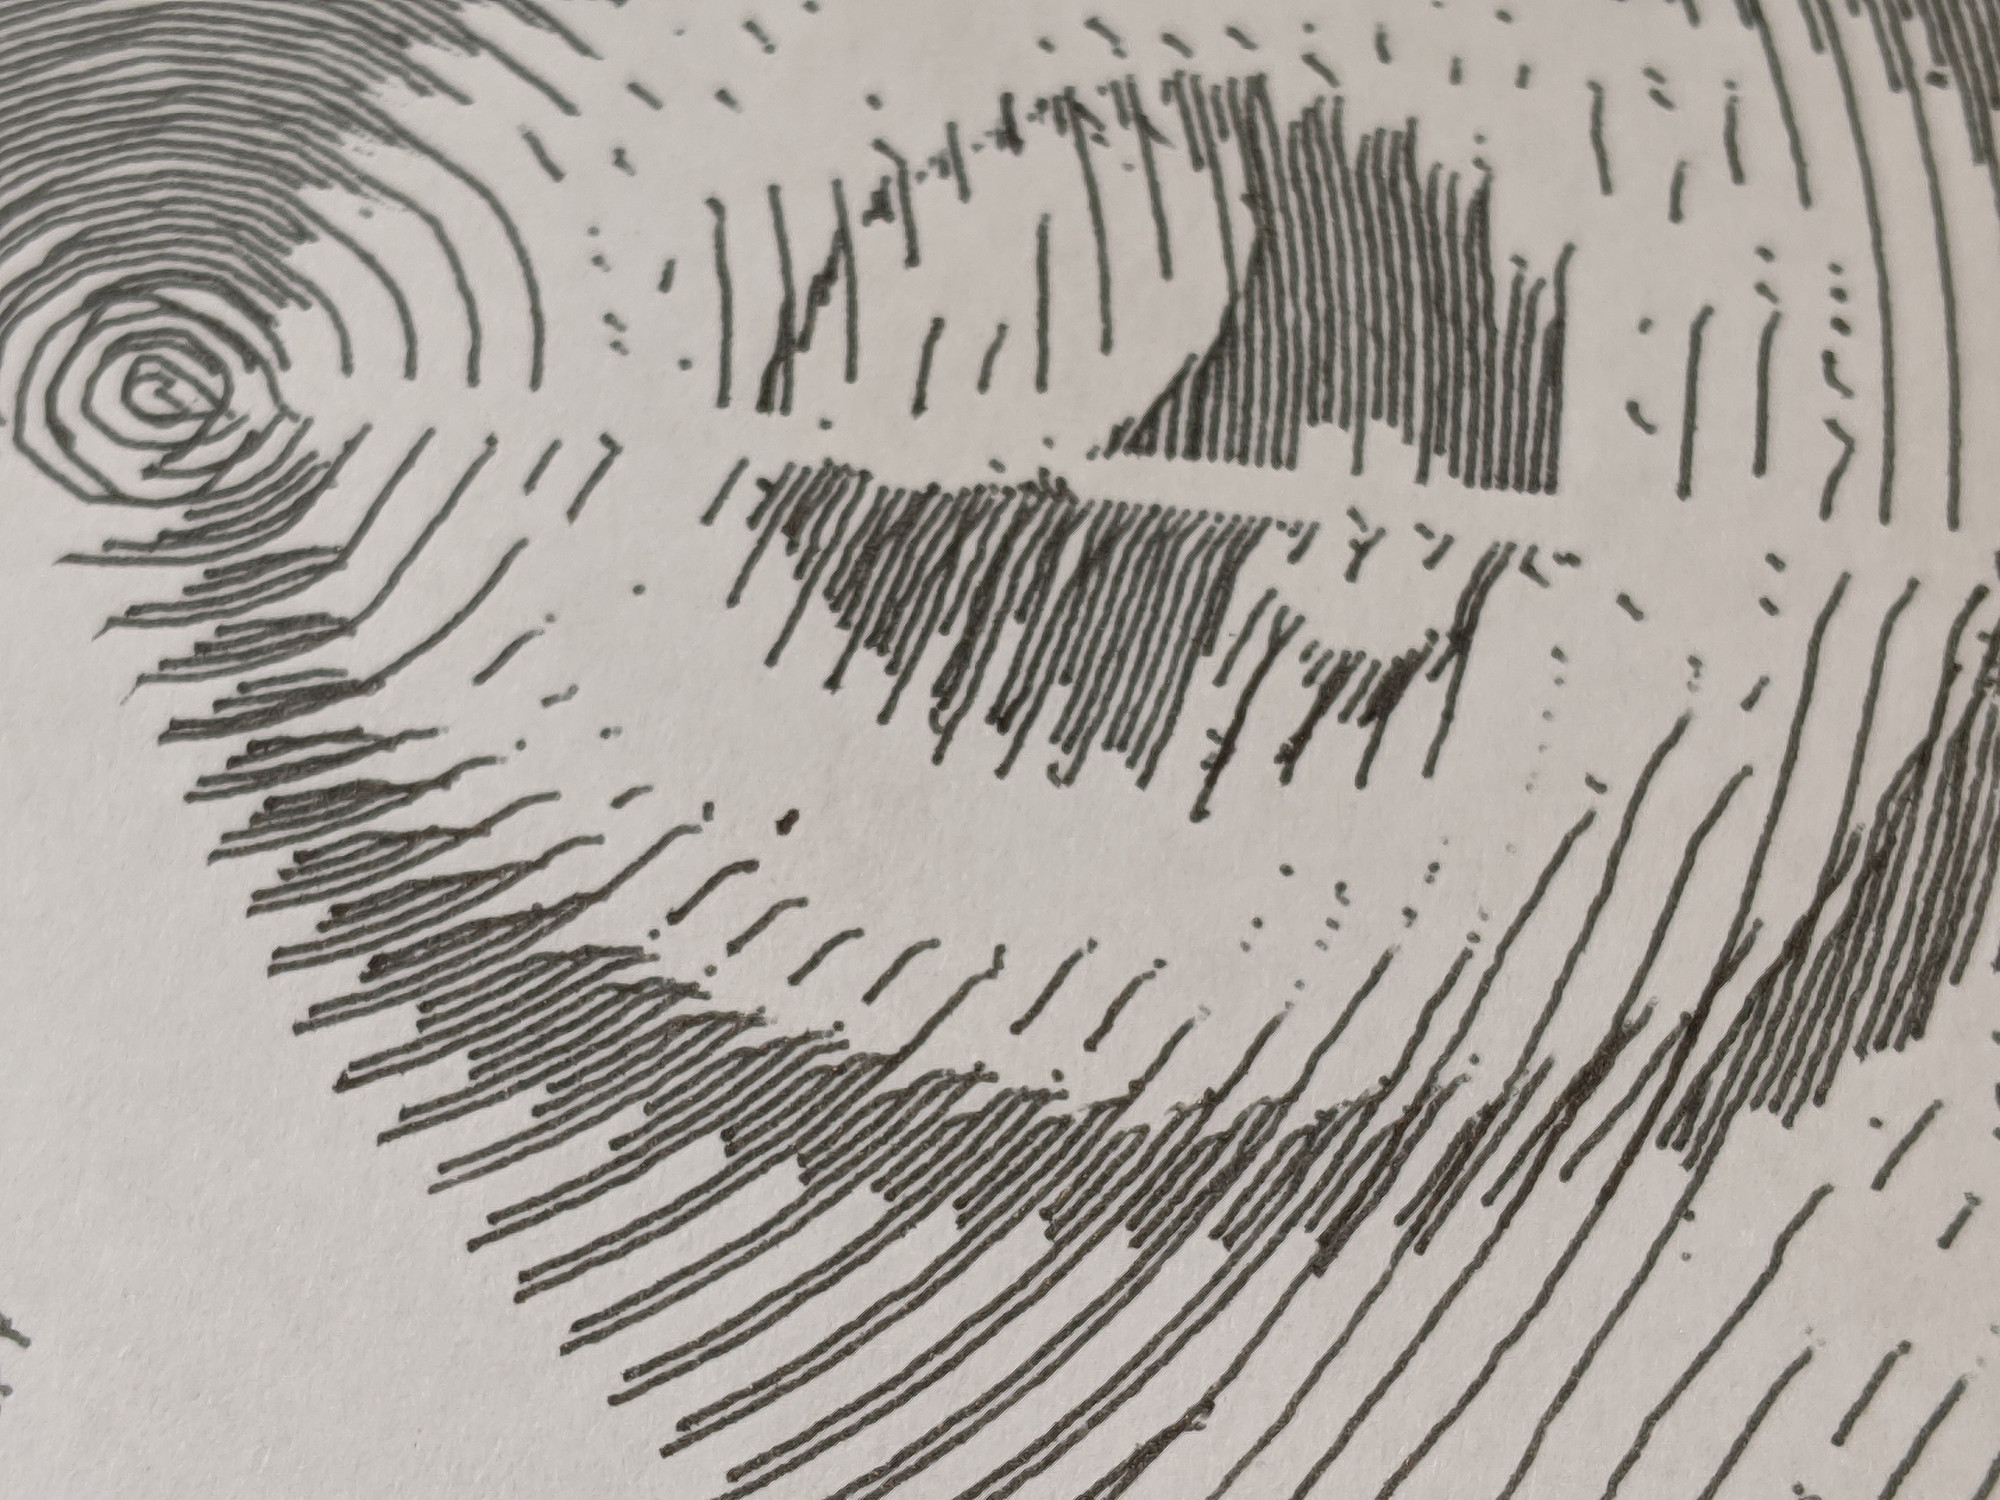
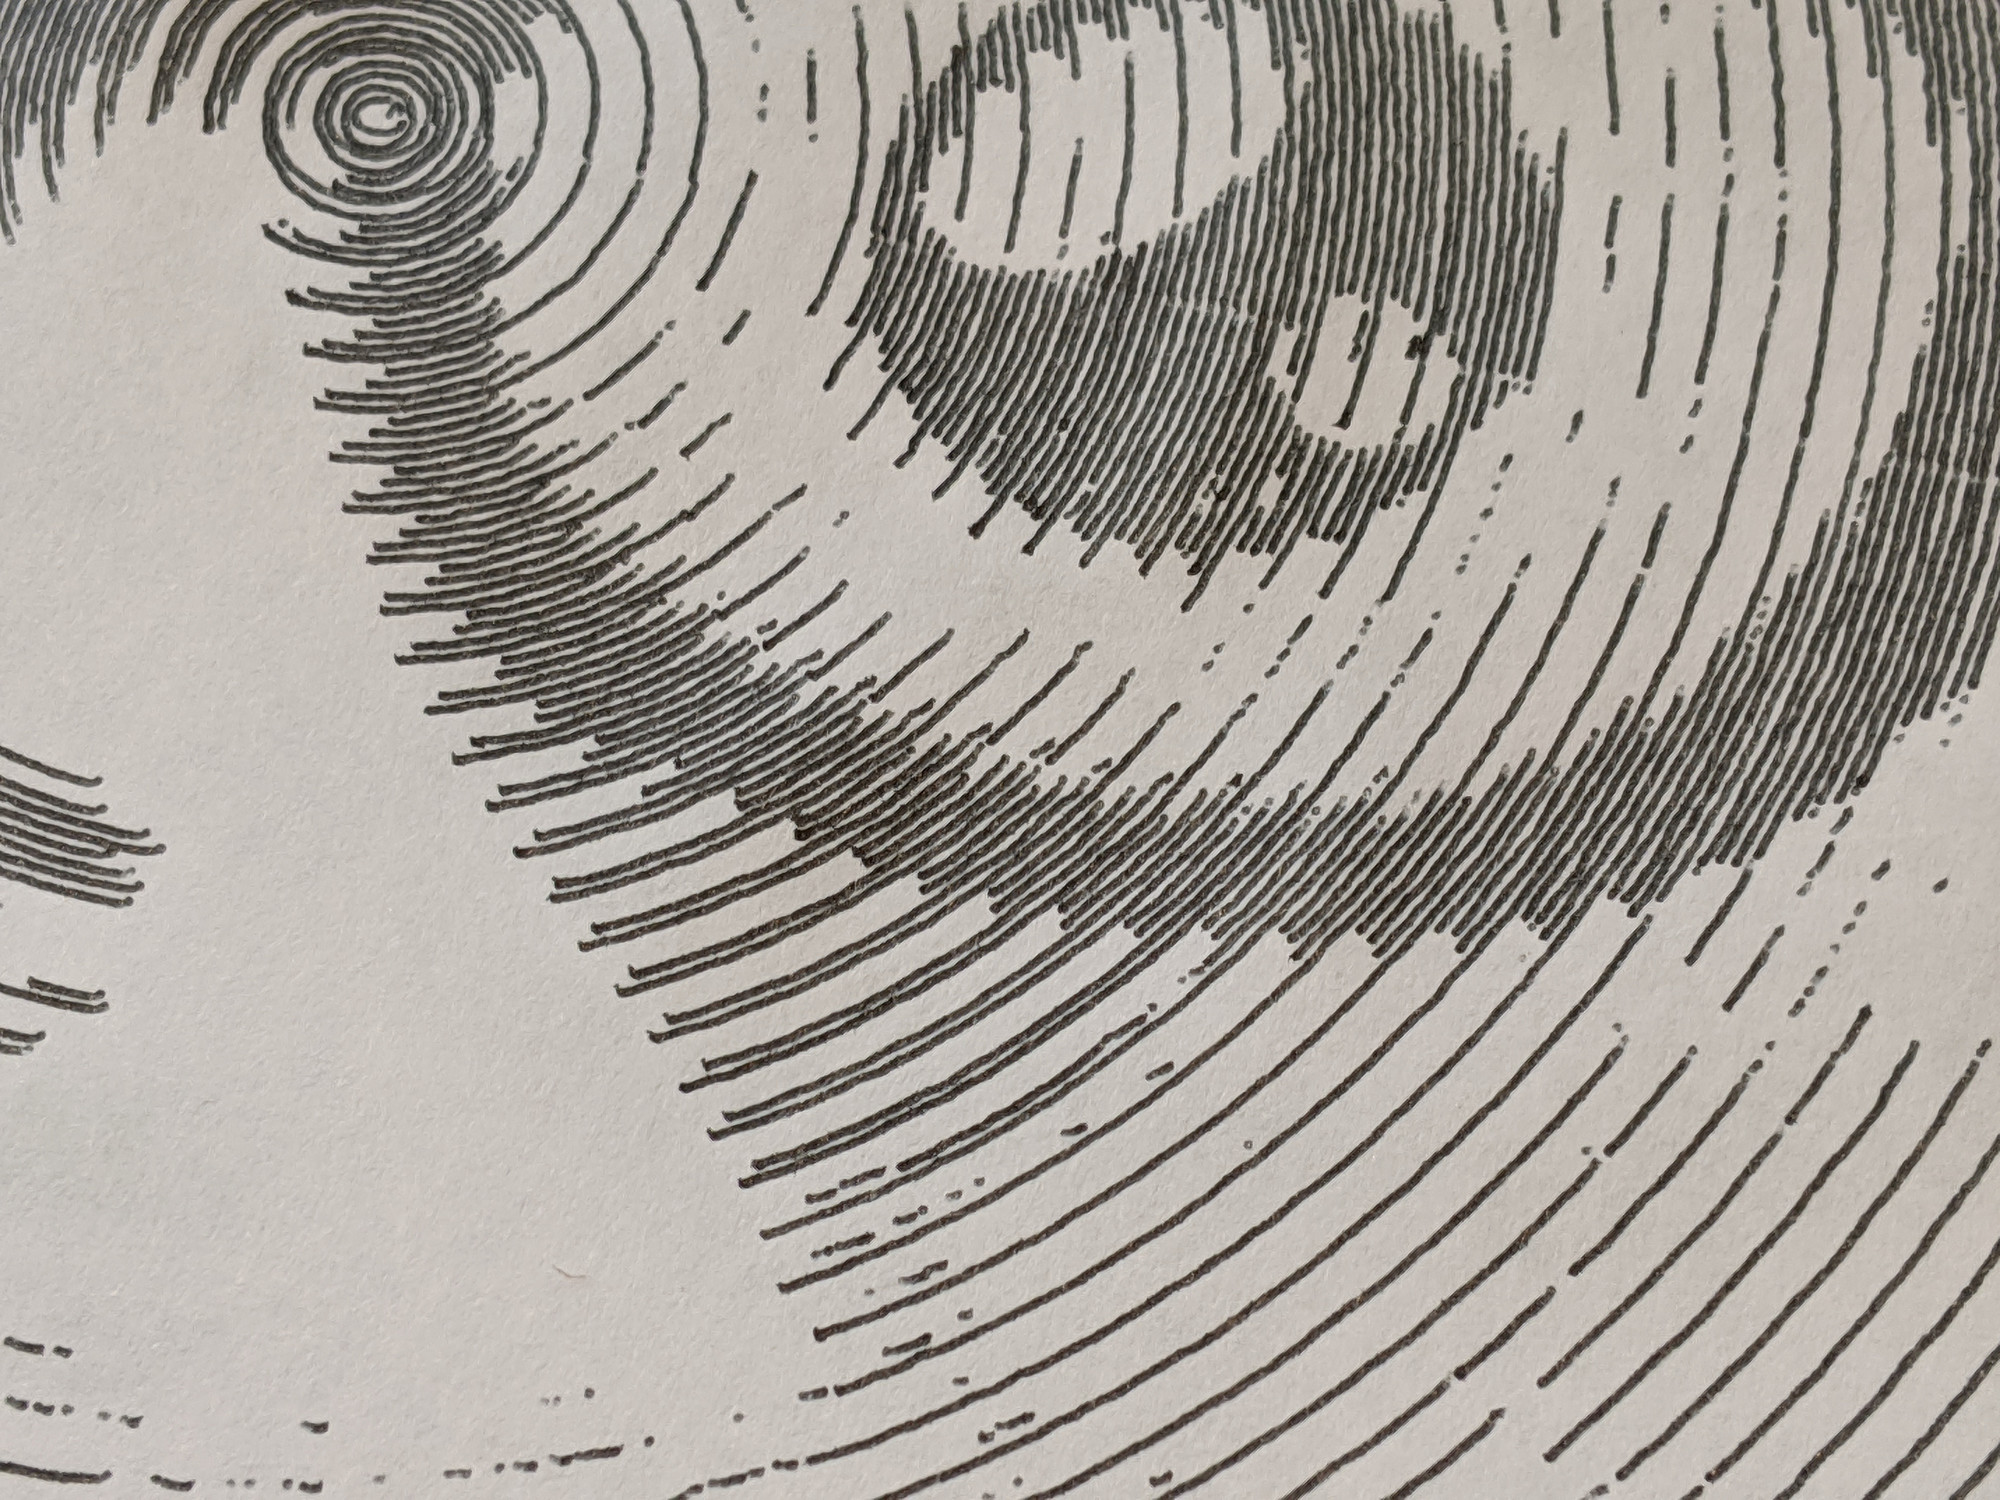
Here’s a comparison of the line quality
Next steps
The issue with this last design is that it both relies on a tight fit between the sliding plastic carriage and the bolts, but is also hampered by any friction there. To reduce play, these holes should be as tight as possible, but then pen won’t be able to move up and down smoothly.
I’ve purchased some teeny, tiny linear rails and will attempt to replace the moving components of this last design with them instead when I get the chance.
Files
Files can be found here: